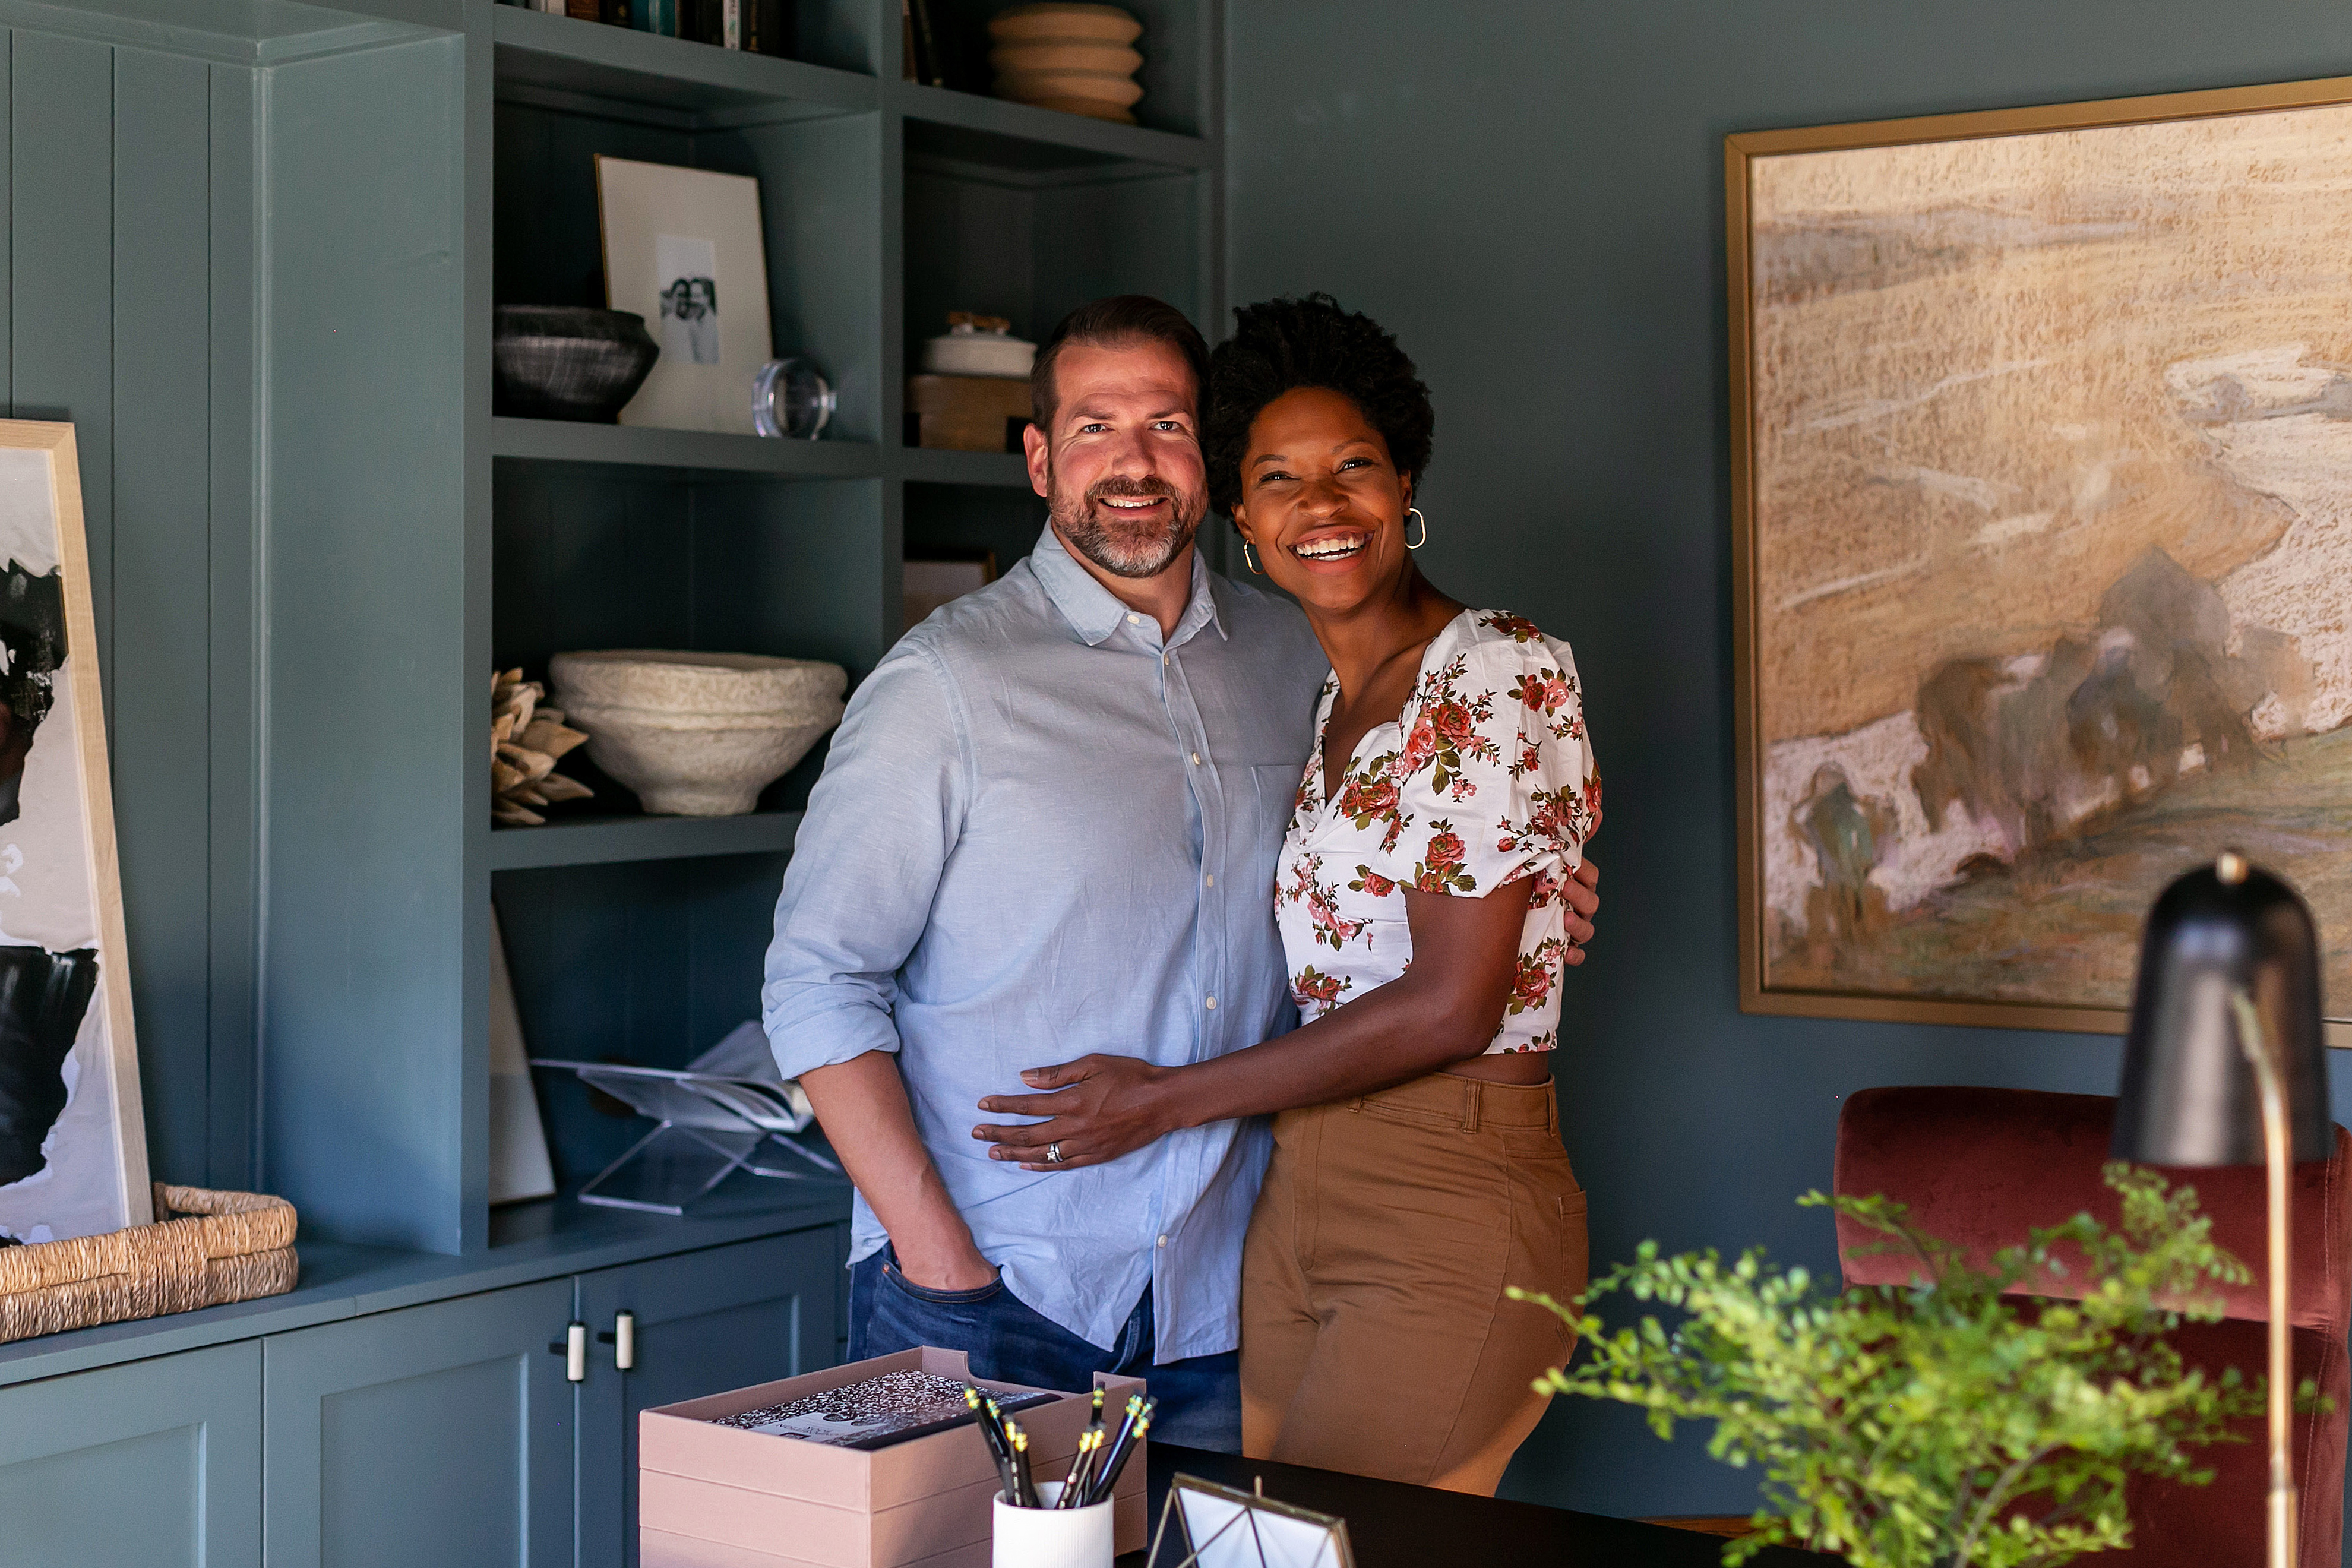

I'm thrilled to be working with such a fun and delicious brand today. Thank you Cold Stone Creamery for sponsoring this post.
 For me, the holidays can feel overwhelming enough without adding a complicated set up to my task list, so I'm sharing a simple and pretty Thanksgiving dessert table to inspire. Luckily there are plenty of ways to keep it easy without sacrificing style.

I know Pinterest has made recipe posts irrelevant but I'm digging my heels in and posting about recipes anyway. One thing I've noticed about recipes on Pinterest is that they A) don't seem to have been tested or have reviews and/or B) all say that they are the BEST "X" you've ever had. I'm sorry, but sometimes (in fact, oftentimes) that's just not true! So here are my top FIVE easy weeknight chicken recipes that have been tested and Joe and Tiff (and other family members) approved:
 I should say this isn't necessarily the order I like them best. My "favorite" changes depending on what I'm in the mood for. And yes I know I said top 5 but then I remembered a Pinterest one that has made its way into the rotation.
1. Easy Chicken Cordon Bleu. I've been making this for years. In fact, I made it tonight and my husband (who didn't know I planned on this post) said "I think that's my favorite meal." Of course he says that about a handful of meals but I guess I'm insecure because I never tire of getting kudos when it comes to meal planning/cooking!
2. French's Crunchy Onion Chicken. I saw the French's commercial for this last year and it worked like a charm. It looked so yummy that I grabbed a box of French's on the next grocery trip. And the one after that. And the one after that. To make this one even tastier (and more indulgent), pound the chicken to about a 1/2 inch thickness. You have to increase the "batter," by about half but it's totally worth it. mmmmm.
3. Easy Garlic Chicken. I found this one on Pinterest. If you don't like garlic this one is not for you. But if you do, the few ingredients blend together just right. And a bonus--you probably will always have these few ingredients on hand.
4. Rachael Ray Honey Nut Chicken Sticks. This is another I've been making for years. But I have to say it's the least "easy" of the six. It's not complicated in terms of instructions; it just takes a lot of ingredients and a bit of blending. It only takes 15 minutes to bake once you've put it all together and it's SO good. As a side note I always use generic Honey Bunches of Oats. (photo from here).
5. Monterrey Chicken. This is probably the newest addition to my faves. I always ask my sister-in-law (who's great at sniffing out delish new recipes) what was her new fave and this is the one she mentioned. Thanks sis!
6. Stove Top Sweet Citrus Chicken. Another Kraft favorite. And only a few ingredients to boot. To clarify, by "Stove Top" it means the brand of stuffing. It does require baking. (photo from here).
.jpg)

1. Easy Chicken Cordon Bleu. I've been making this for years. In fact, I made it tonight and my husband (who didn't know I planned on this post) said "I think that's my favorite meal." Of course he says that about a handful of meals but I guess I'm insecure because I never tire of getting kudos when it comes to meal planning/cooking!
2. French's Crunchy Onion Chicken. I saw the French's commercial for this last year and it worked like a charm. It looked so yummy that I grabbed a box of French's on the next grocery trip. And the one after that. And the one after that. To make this one even tastier (and more indulgent), pound the chicken to about a 1/2 inch thickness. You have to increase the "batter," by about half but it's totally worth it. mmmmm.
3. Easy Garlic Chicken. I found this one on Pinterest. If you don't like garlic this one is not for you. But if you do, the few ingredients blend together just right. And a bonus--you probably will always have these few ingredients on hand.
4. Rachael Ray Honey Nut Chicken Sticks. This is another I've been making for years. But I have to say it's the least "easy" of the six. It's not complicated in terms of instructions; it just takes a lot of ingredients and a bit of blending. It only takes 15 minutes to bake once you've put it all together and it's SO good. As a side note I always use generic Honey Bunches of Oats. (photo from here).
5. Monterrey Chicken. This is probably the newest addition to my faves. I always ask my sister-in-law (who's great at sniffing out delish new recipes) what was her new fave and this is the one she mentioned. Thanks sis!
6. Stove Top Sweet Citrus Chicken. Another Kraft favorite. And only a few ingredients to boot. To clarify, by "Stove Top" it means the brand of stuffing. It does require baking. (photo from here).
I'm always looking for good & easy chicken recipes. What are your favorites?
Because I have so many photos of Nadia's party that I want to share with you, I figured I'd break it down by category. If you're sick of hearing about the party, come back in November October. If not, read on!
I'll be honest. The food at the party isn't what excites me. Well that's not all true--I love the dessert/snack buffet part. But the 'real' food just isn't exciting or pretty. That said, I believe in what Megan mentioned in her post about Grace's sunshine party: the adults want good food. Give them good food and they'll have a good time. Have you ever been to a super cute party but left hungry? Yeah, I'd like to avoid that! In that vein, I wanted to offer food and snacks that adults would enjoy as well as sweets and snacks the little ones would love. I did learn one thing: little kids don't really eat at birthday parties (at least when you host it at your in-laws' amazing home complete with 2 swing sets, a basketball hoop, and a pool). But more on that later...
[By the way even though the title says "dessert buffet," this posts includes the little details about all the party food and you can find ALL recipes at the bottom of the post].
First the pretty food:

My fabulous sister-in-law designed the food labels. (She also designed the invitation).

I got the kool-aid popcorn recipe off of good ol' pinterest. [here's the part where I debate making it seem like everything is perfect or go with my manifesto of "keepin it real." Keeping it real wins. Because I hate it when blogs make everything look easy and perfect. It makes me feel like a loser. Maybe that's my own weird hang up but for the sake of argument I'm going to pretend you don't feel awesome when you think everything in someone else's world is perfect and wonder why yours isn't. ok, enough]. All that to say, I didn't love this popcorn. It tasted like a jolly rancher. And I don't like jolly ranchers. And I had most of it leftover. So don't make it (or if you do, maybe try cherry kool-aid instead of pink lemonade. Even though pink lemonade matches the party). There. :)

It does look pretty though, doesn't it?!

One of my favorites on the snack buffet. Simple. Cute. Yummy.

As luck would have it, Sam's Club stopped carrying cotton candy the week of the party. I went through this for Genevieve's first party also-- saw it everywhere before and after. Couldn't find it anywhere during. I ended up running to the Dollar General and getting this fluff at the last minute. A circus party without cotton candy just seemed wrong. Oh and if you remember the cotton candy from this post, it totally "shrunk" before I even opened it. Not cool, HomeGoods, not cool.
.jpg)
I was considering circus peanuts like these for this cupcake holder but I think they may look cute but taste, well, nasty. I saw these cute shortbread alphabet cookies at Wal-Mart the week of the party and made a quick decision to buy them. I'm glad I did. They matched the party perfectly, were tasty, and my girls didn't seem to mind finishing up the leftovers.

Iced animal crackers. Adding confetti-ish sprinkles makes everything cuter.

This is actually candied popcorn not caramel like the card says (oops). I liked this recipe better than the kool-aid popcorn although it did get hard really fast when preparing it.

I LOVE caramel apples. I considered making them myself but decided to stop being stupid. :) I got them at Wal-Mart instead. At almost $1 a pop, they weren't cheap but I didn't need many. I always buy them there in the fall and just love them.

I wish I had taken a picture of these when I first finished making them because they were PERFECT! I've made cake pops quite a few times now but they are tricky. These were super easy. I got the recipe from here. The issue was that I froze them (which I never do when I make cake-pops) because Lindsey from Pillow Thought froze hers. But while it seems like hers were gobbled up right away, I had to transport mine to the in-laws and then leave them out until the party started...resulting in some wilting. I will definitely make them again though because they're so darn cute and taste delicious. Just no freezing next time!

Is it me or are these just so dang cute?!

Of the 4 popcorns I made, this was my second favorite. The recipe can be found here.

And this is my FAVORITE of all. You can find the recipe here. If I had it to do all over again, I'd eliminate the candied popcorn and just make more of this and the caramel popcorn. This recipe was the easiest one of all and there wasn't a lick of it left.

Ironically it's the least pretty of all the popcorn but the most delicious.

Ok, I haven't told you about how crazy windy it was that day, have I?! I was happy it didn't rain (which the forecast threatened off and on all week), but the wind really gave me a hard time. I will share more about the weather in future posts but for now, I mention it because the flags on the cake are a bit awry. The cake instructions were from here. I'll share more about my experience making the cake in a later (cake/cake cutting) post!

I don't know about you, but I just get a vintage vibe when I think of the circus or carnivals. This was the perfect beverage in keeping with that feel. I found these Sioux city sodas (sasparilla and cream soda) at HomeGoods.

It makes me sad that we didn't actually USE this! We had every intention...but we were running a little late but hey, it's still pretty cute isn't it?! We also had a play list of carnival and circus music playing on the deck so despite it not being used, it definitely added to the vintage carnival vibe.
And Now the REAL food:

I loved these cute ketchup and mustard holders. Another small detail to give the party a vintage feel. For dinner we had sausage, hot dogs, pressed sandwiches (recipe here), grilled veggies, pasta salad, and chips.

I might have overfed everyone! Ha! I had a nacho bar complete with all the toppings you could want (chili, jalapenos, onions, black olives, sour cream, etc) and plain and spicy nacho cheese. In hindsight, I probably could have stopped there...but due to my intense fear of not having enough food at a party, I decided to feed people dinner also.

I had cute labels for all the food but the wind shattered that dream [says, the drama queen]. When we switched out the snacks for the "real," food, I thought aloud as to whether I should set them up (knowing they'd be knocked over immediately) and my sister-in-law (who designed them) said, "At this point, I'd let them guess." And I laughed out loud. Love that girl!

Cutlery. Wrapped and adorned with twine and tickets! I also added cute jungle animal plates for the kiddos and saved my mom from wrapping MORE silverware by throwing the kids' cutlery into a mason jar :)

This little detail took a. lot. of. time. I have to thank my mama for doing it because it's one of those tiny details that wouldn't have made its way to the top of the priority list!

Besides soda, I also served lemonade as a beverage. Which gave me an excuse to use these fun straws.

One more shot of the cutesy soda.
And all the recipes in one place:
Kool-aid popcorn: Tasty Kitchen.
Candied popcorn: A Mom Not a Professional Nor a Perfectionist.
Classic Caramel Popcorn: All Recipes.
Marshmallow popcorn: Pinterest.
Cake Pop Cones: Pillow Thought.
Pressed sandwiches: Crepes of Wrath.
Circus Striped Cake: Girl. Inspired.
Photos by Captured. Photography.
Stay tuned for posts featuring the birthday girl, the cake/cake cutting, party activities/favors, and the party people! And don't worry, the posts won't all be THIS long. ☺
.jpg)
 |
| I didn't get a photo with the refrigerated desserts but you get the idea! |
- Choose a theme or color scheme and stick to it! Don't be tempted to do every cool thing you've seen on Pinterest or the big blog world. I've done pink/vintage princess, pumpkin themed, pink & brown (i.e. chocolate) [picture at the end], and bright and summery [pictured]. Also check out Megan's beautiful (and delicious) pink and yellow buffet from Grace's sunshine party!
- Keep it simple. This advice varies depending on your budget, taste, and style. You may have the budget to hire the best confectioners and bakers in your town and if so, go for it! However even if you do have the budget you still want to streamline the table so that it's not overwhelming. I made the mistake of doing a bit too much for Genevieve's first birthday (the photo in the blog post doesn't even show all the desserts-they wouldn't fit on one table!) and realized for her 2nd birthday that a little goes a long way. You don't want all your cute and tasty creations not to get the 'play,' they deserve because there's too much going on.

-Create a menu comprised of store bought, semi-homemade, and homemade items. Obviously you can do all of any of those mentioned but in my experience the mix mentioned above helps with three things: 1. the dessert bar is "special" because you included some homemade treats that people can't just go buy at the store. 2. You don't drive yourself insane making every little thing from scratch. 3. It saves money. (The one exception is if you are doing a dessert bar comprised of candy only. If you are Willy Wonka you can go crazy making candy but there are so many cool bulk candy sources that sell beautiful, tasty, and color coordinated candy)! Which brings me to my next point:
- Know your audience. In my experience adults don't eat a ton of hard candy, so although it's easy AND gorgeous AND super easy to color coordinate to your party, you may end up with tons of leftovers. Kids eat candy but kids also have parents who are sure to try to limit their sugar intake. The exception is chocolate--both kids and adults love chocolate. BUT it's also pricey. (I guess this isn't advice so much as something to keep in mind...
- Use various heights to create a balanced display. Cake plates, platters, cupcake stands, footed plates/bowls, etc. Get creative here...(and see this post for a DIY cake/cupcake stand). I've also made these which were so easy and pretty!
-Use a pretty backdrop if at all possible. I've used: banners, balloons, drapes, and poms, but have also seen streamers, chalkboards, fabric pennants, paper pinwheels, etc...Also paper products go a long way! Tent cards/labels not only make everything pretty but saves you from answering 'what is this?' questions over and over again!
- Map out which desserts will go in which dishes ahead of time. Double check any details ahead of time. For the thrive conference I realized at the very last minute that the foam I bought for my cake pops wasn't thick enough and they wouldn't stand up in it! I was trying not to panic as a few of my friends (and attendees of the conference) helped me come up with something cute that would work for the table set up. Phew!! Love you Jill, Danielle, and Melissa!! ;)

"Curious Cami's 3rd Birthday" image from here.

"Modern Rainbow" printables. Image from here.

"Little Pink Birdie" Baby Shower Image from here.
and though not nearly as beautiful, my first ever candy buffet back in 2008:
.jpg)
Your turn: What helpful hints do you have for creating tempting dessert buffets?!

As for the brunch afterward--of course, it’s me, so I started out planning to do all
this cute décor, including digital scrap paper, tags for the drinks, and fabric
table runners. The little girl blowing a
dandelion on the invitation was my inspiration.
This is the ‘design
board’ I started with:

However I quickly came to my senses and reminded myself that I was trying to keep this party really low key and more importantly inexpensive. I really want to use some of these ideas in the future though. I love the idea of dandelions as a theme! Although I ditched most of the ideas above, I did make a few poms, use mason jars wrapped
with raffia and adorned with cute paper straws, and bright tablecloths. Let me tell you- it’s not as easy to find
aqua and coral as you might think! Fortunately
I found enough of it to get my color scheme across. These pictures aren't the greatest but hopefully you'll get the idea and just trust me that it was cuter in person. ;)


As for the food, I was a little nervous about it. It was only immediate family but other than Joe’s birthday, I've barely hosted anything without my mama’s help. I decided on a brunch mostly because I love breakfast food but also because it’s easy and inexpensive. I was careful to choose a menu that would allow me to do most of the prep the night before.
I’ll tell you my menu just in case you’re anything like me—the
menu is always the hardest part for me! I like finding recipes that others have
used and liked so here’s mine:
 Appetizers:
Fruit- my MIL brought this.
Veggies/Ranch- keeping things simple!
Deviled Eggs- made the night before.
Monkey Bread (made by my sister-in-law).
Main:
Jimmy Dean Sausage Casserole- did all the chopping/prep the night before. This is actually a crock pot recipe and took a bit longer than I expected making it in the oven...
Paula Dean’s French Toast Casserole- made the night before
Hash brown casserole- all chopping/prep the night before
Ultimate Chicken Salad- I LOVE this chicken salad. I made this the night before.
Drinks:
Princess Punch (& water)- found the recipe for this punch on pinterest but I didn't pin it so I can't find it!
Dessert:
Ball Jar Cheesecake with raspberries, mint, and chocolate
chips- made the night before.
The brunch was
yummy and the weather was beautiful—allowing most of our family to hang out
outside. Our house is tiny and our
recent remodel left us with no ‘real’ dining area so entertaining when it’s
cold and rainy is nearly impossible. It
was gorgeous and in the 70s so most everyone ate outside and the kids stayed outside
almost the entire time.


My little princess slept through almost the entire event, which actually worked out well! Here she is afterward (along with a few other pictures). The day was a success and I believe that my little Nadia will walk with the Lord all the days of her life. Amen. ;)