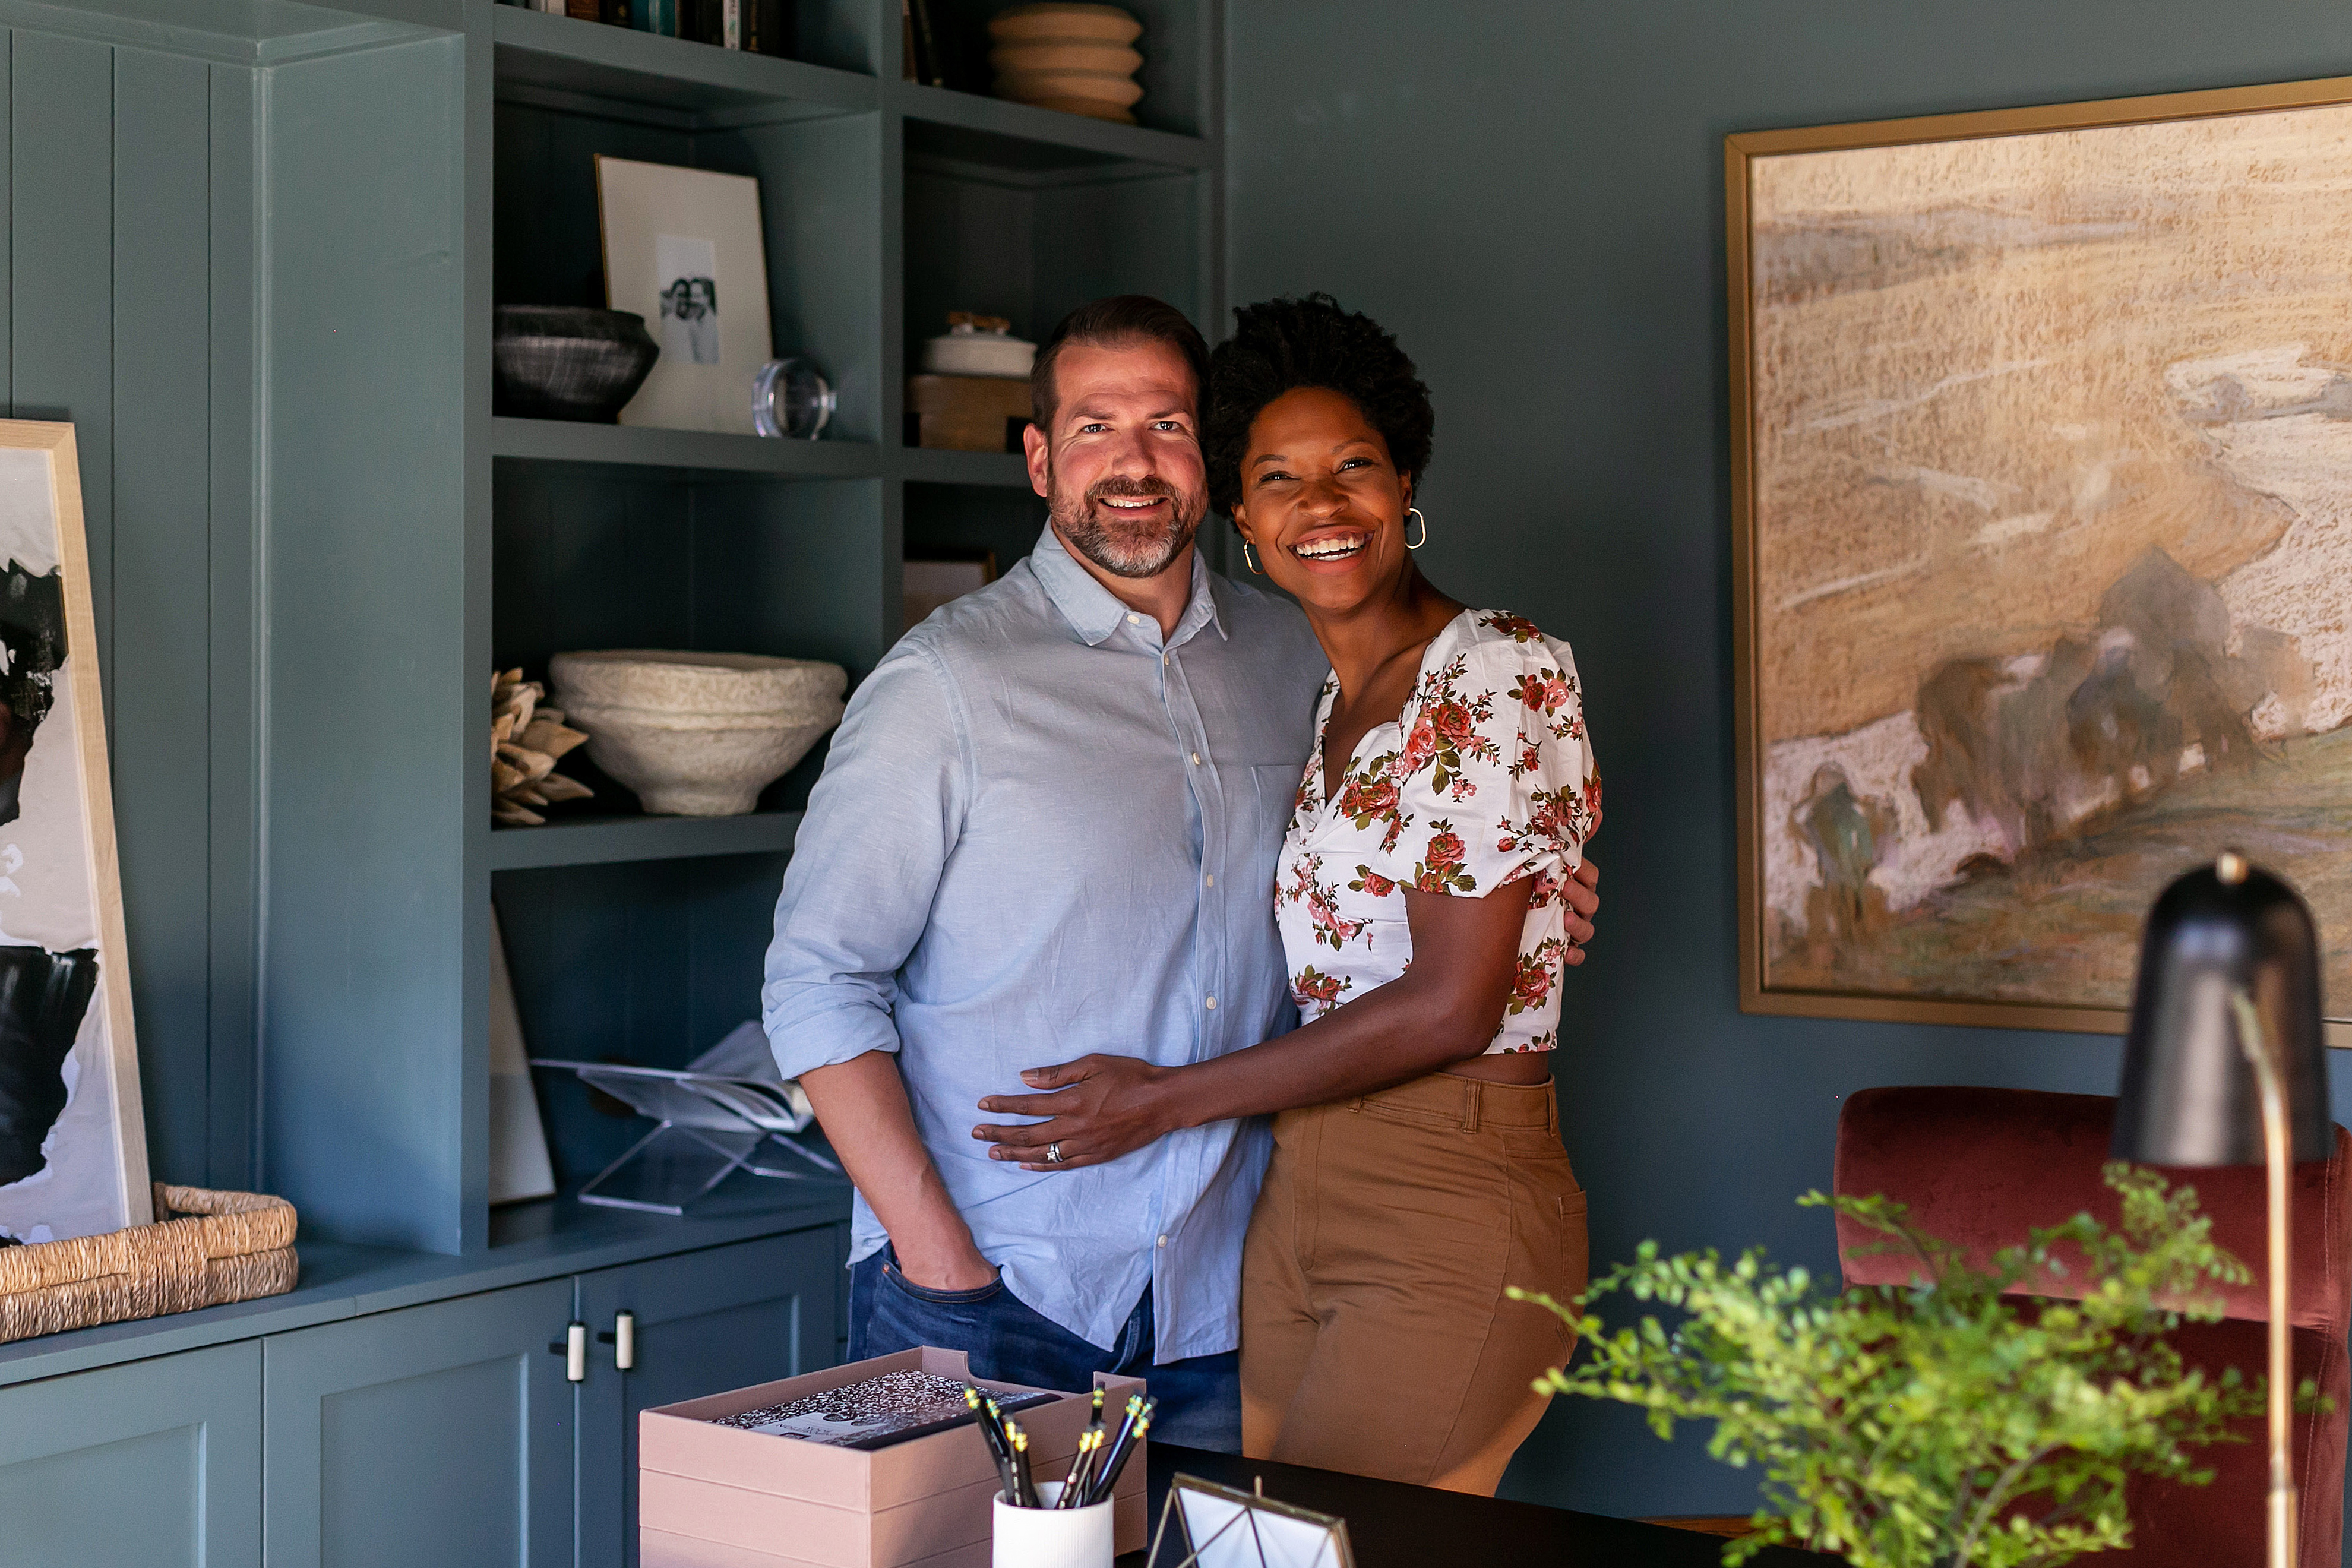
It's week 4 of the One Room Challenge ™ and let's recap. This year I'm a featured designer (pinch me!) and the pressure is on! We have (had!) eight weeks to completely transform a room. You can see in this post we decided to tackle our neglected loft family room. Our goal was to add storage and family-friendly style! Ok- back to this week...In some ways, time is FLYING. In other ways, it's crawling by as I check FedEx tracking numbers ad nauseam. Guys, I'm pretty sure I'm gonna make it but man is it gonna be a nail-biter! I don't have a tutorial for you this week, but I thought I'd share our progress and pain points instead. Kind of a check-in. So here goes:
It's week 3 of the One Room Challenge and the shiplap is complete. I repeat the Vertical Paneling in the Family Room is complete. Phew. There's so much left to do but adding a wall treatment and hiding cords (something that's been on our list for like ever) is a big to-do marked off. We've installed shiplap twice- here and here- but never shared a step-by-step tutorial for installing vertical paneling so keep reading for that plus a peek at what's hidden behind ours. I'll also add that this is a great beginner project if it's just one wall- there's not a lot of math or woodworking involved. You can do it!
Well that went by fast! It's week 2 of the One Room Challenge™! You can read all about our plans to create a fun and cozy family room and its current neglected state, here. This week, I'm sharing our plans and progress on the DIY media built-ins, inspiration for the project, what we purchased to make it happen, and step 1: assembling the cabinets. If you'd love a custom built-in with all the storage and style it adds, but don't have the thousands it takes to hire it out, this one's for you!
Agh! It's One Room Challenge™, week 1. Last year we transformed our office nook as a guest participant; this year? I am a featured designer! Say what?! I've been a busy bee gaining inspiration, sourcing furnishings, repeatedly editing my mood board, and finally feeling like I'm getting the vision for this project. Here's a little backstory on the room we plan to tackle- our 2nd-floor family room we call 'the loft.' Others might call it a bonus room.
This post is sponsored by Handy Products. As usual, all opinions are mine. 

Guys! We marked another "we'll get to it one day" DIY off our list! From the moment we moved into this home, we wanted to add trim to the dining area but we planned to hire it out. Well, guess what? We didn't hire it out. We did it ourselves and I could not love it more! This is one of my favorite DIYs yet (hence the 12 exclamation points)! Here's what you need to make your own easy box trim! Oh but before I get too far into it, let me tell you our dining room needed a fresh coat of paint in the worst way. With 3 little ones, the walls get gross real fast. Handy Products were the real MVP of this project. They have a variety of sizes of pails and trays, paint covers, and accessories that really help any job- big or small- go more smoothly! But more on paint later...