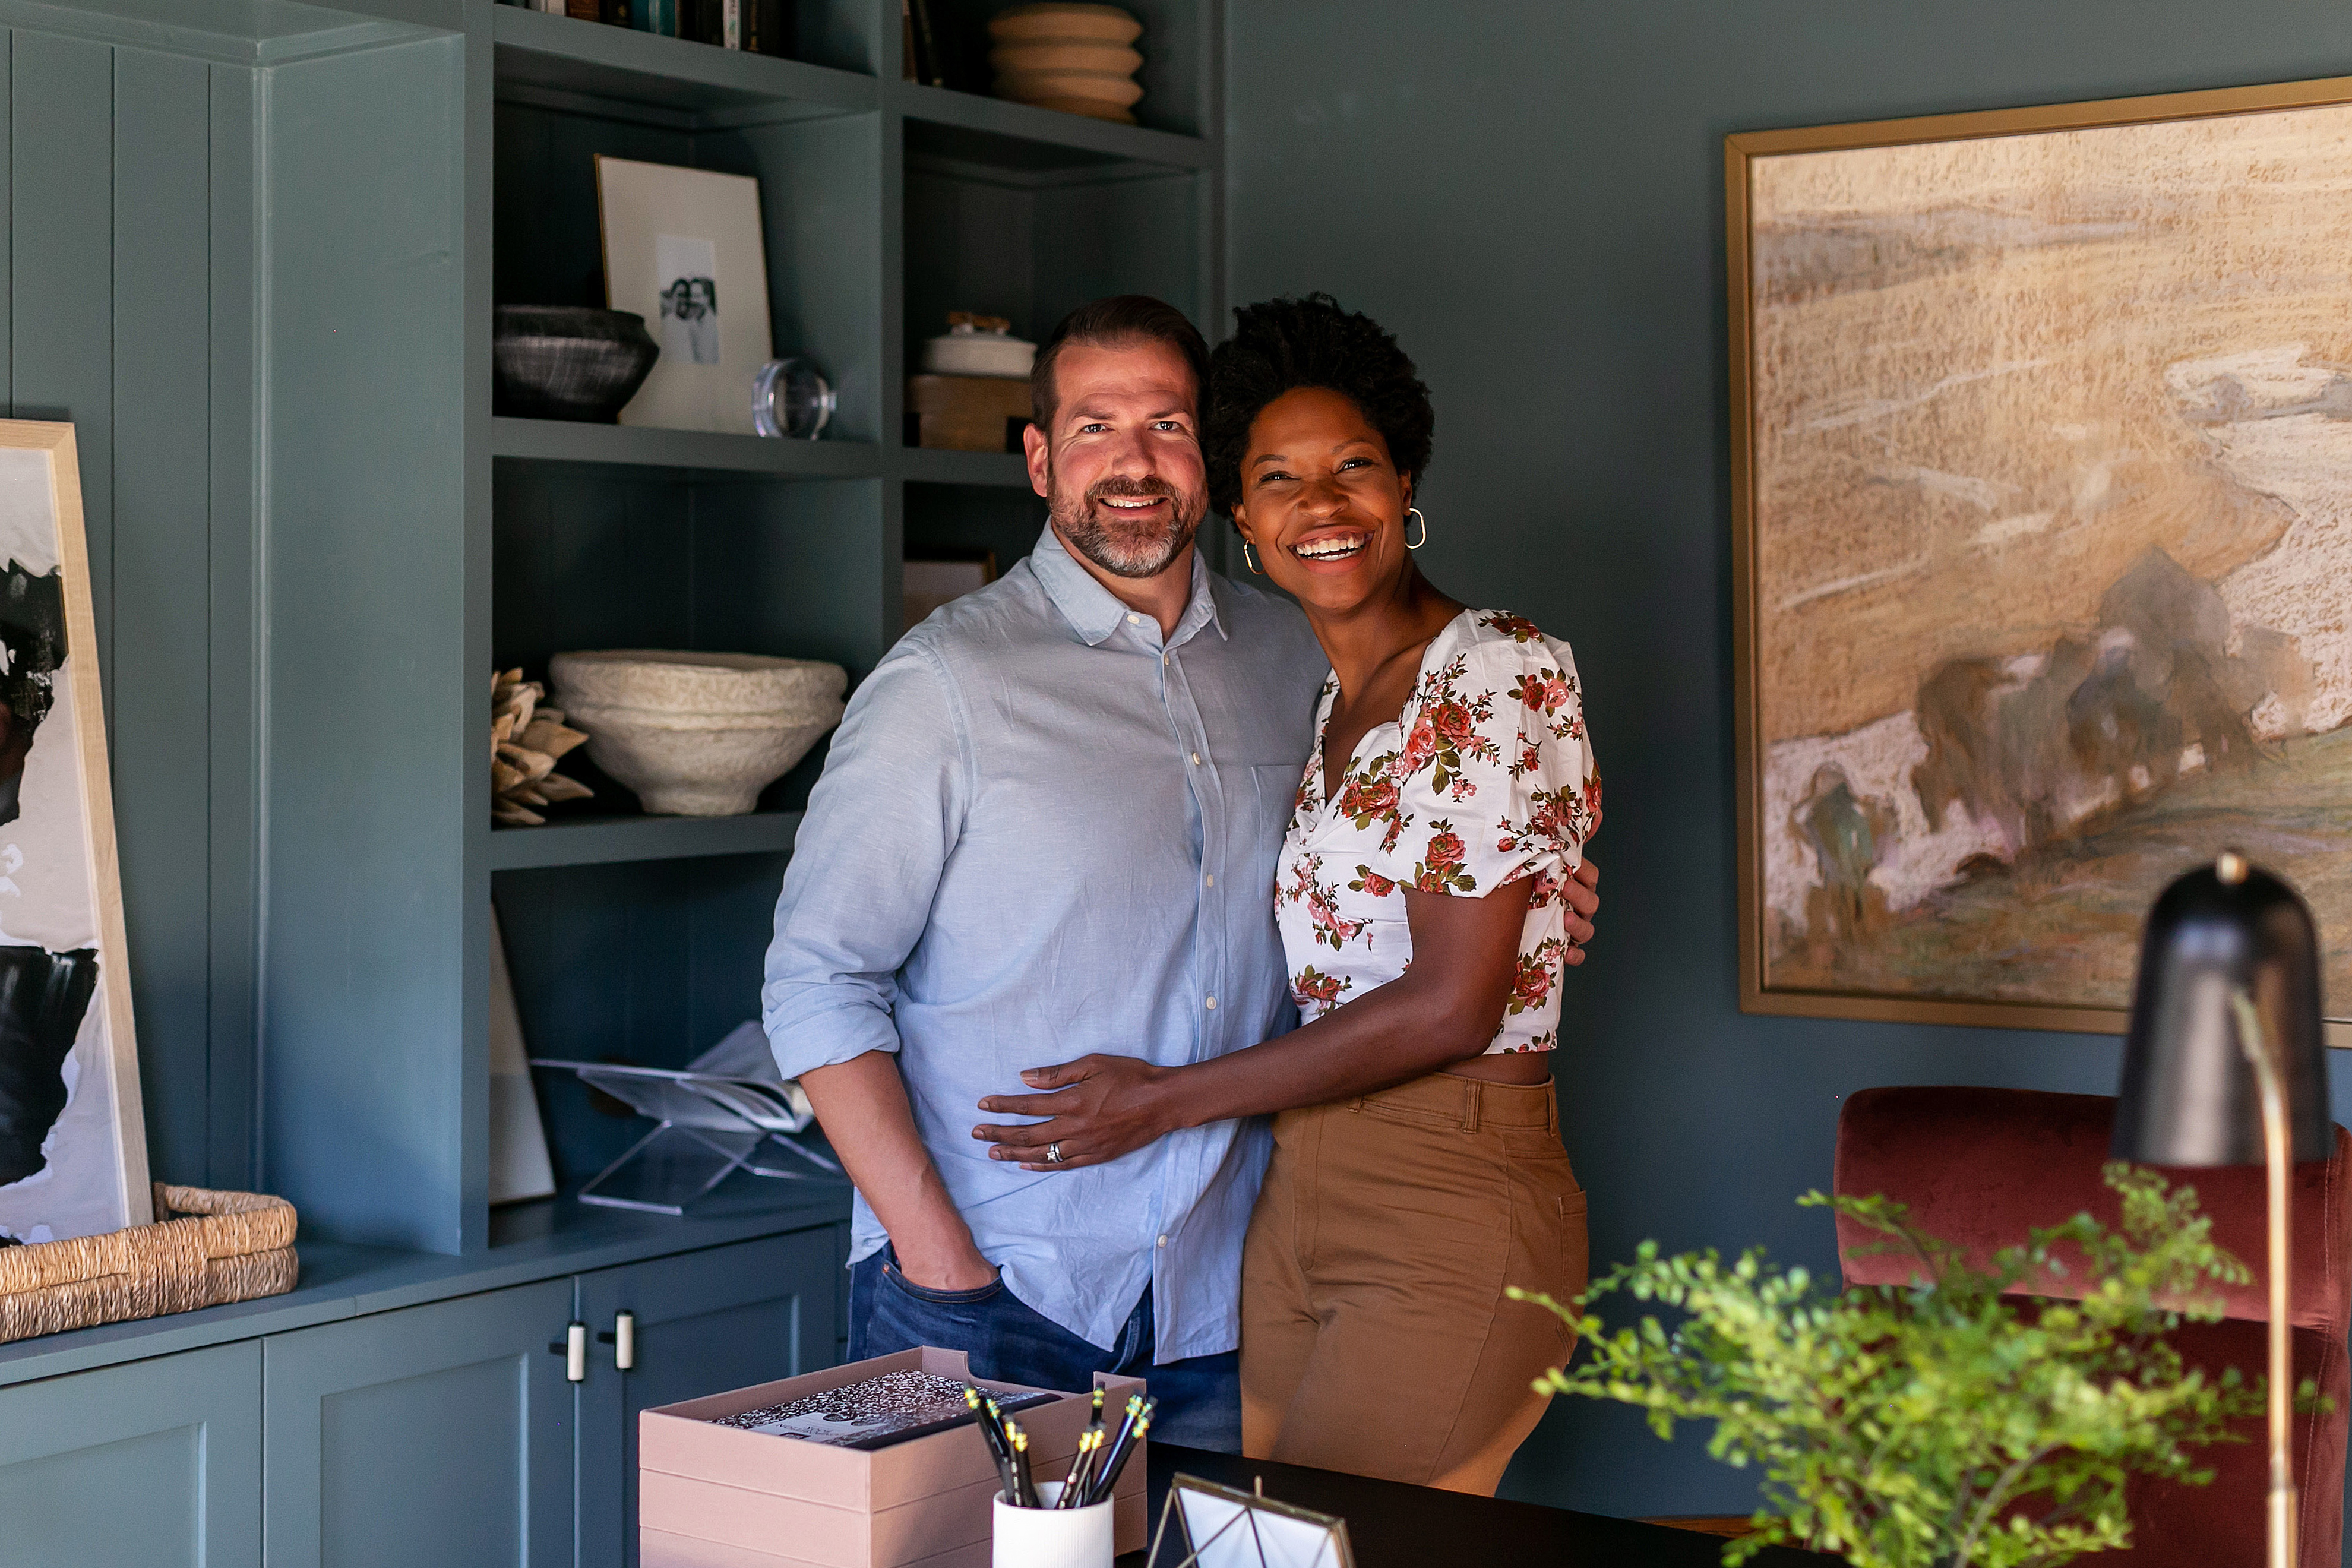
When we recently renovated the kids' hangout room, I wanted to include a special feature- either a moulding type wall treatment or wallpaper- I wasn't sure exactly but something interesting and fun. And while wallpaper is fun, I'm such an optimizer- looking at every option available and analyzing the pros and cons- that I wanted to find an easier project that still had a wow factor. I decided to paint an accent wall in a plaid pattern to look like wallpaper. Who remembers the last time I painted an accent wall?! It worked out very well because-here's some BTS tea for you- I was working with HGTV Home by Sherwin Williams for the renovation. I only agree to paint collaborations if I LOVE the colors. It's only paint, but I just don't want to put in the effort for a color I don't love nor do I want to share something that I wouldn't choose "in real life," simply because I'm being paid (it's called integrity. ha). Well I saw the colors and HGSW Still Water was perfect. At least I thought it was...until I got the paint chips and tested it and it was reading too cool with the sofa we'd purchased- and we love the convertible sofa so much. I also really liked HGSW Hazel so when the thought hit me to combine the two (along with HGSW Creamy which truly is a beautiful white!), it was like Eureka! A DIY plaid wall idea was born. If you want to DIY a plaid wall, I'm sharing a step by step tutorial for how to paint a plaid wall here.
"I like watching you DIY."
"Oh my gosh! This is such a vibe!"
And my favorite-
"This looks like a boutique hotel."
These were a few comments from my family about our latest project- our dark and neglected hallway. Aren't they the sweetest support system ♥? I shared progress and the plan here so if you missed that post, check it out! Today I'm sharing the full reveal. Our hallway has been neglected for the past 8ish years. It was time for a quick and easy makeover. I once heard a designer say that ugly rooms stay ugly but pretty rooms stay pretty and I find that to be so real. When a room is pretty, it's much more motivating to keep it that way. Prior to this makeover, the hall had sort of become a dumping ground that my kids called "scary." That couldn't be further from the truth now. My vision for the space was to make it cozy, but elevated. My goals (also shared in yesterday's progress post) were:
I've been keeping you updated on the hallway progress over on Instagram Stories, but have yet to update Prettyrealblog.com. So here we are. I'm sharing some of the progress and steps we've taken to renovate our drab and neglected hallway. Come back tomorrow for the full reveal!
A little backstory- the hall hasn't been touched since about 2016- I'm talking beaten up walls, boob lights, and all. Our family room and all of our bedrooms are upstairs so it's not as though it's an 'out of sight, out of mind' situation. It just hasn't been a priority- until now. Here are my goals for the hallway makeover:
Add drama with paint- I'm using HGTV Home by Sherwin-Williams
Add character with wall trim- I'm DIYing picture frame box trim and chair rail with affordable materials
Add personality with family photos
Replace 'boob lights'- I ordered these
Add storage- I keep a pile of thrift store bound clothing/objects in the corner and it's such an eyesore.
Hallway Before
Let's start with some before shots of the hallway. As you can see, it is completely devoid of personality or care. Other than replacing the carpet last year, it's remained virtually untouched. Once I replaced the carpet, though, I knew it would be the impetus to making the hallway pretty.
The Plan(s)
Here are the design boards I made to narrow down what direction I wanted to go in. Full disclosure, a collaboration with HGTV Home by Sherwin-Williams prompted this makeover, so I let their curated Color Collections be the driving force. Note- this blog post is not sponsored. Come back tomorrow to see which plan we chose.
Look 1: Framebridge Gallery Staggered Grid Wall Frames | Woven Flush Mount Light Fixture | Square Brass Wall Frame | Matted Gold Wall Frame | Pink Boho Washable Rug Runner | Round Leather Handled Baskets
Look 2: Rattan Wall Mirror | White Conical Flush Mount Light Fixture | Green Scalloped Storage Bench | Plaid Rug Runner
Look 1: Square Brass Wall Frame | Matted Gold Wall Frame | Brass Conical Flush Mount Light Fixture | Framebridge Gallery Staggered Grid Wall Frames | Ivory Boucle Storage Bench | Loloi Blush and Graphite Rug Runner
Look 2: Rattan Wall Mirror | Loloi Aqua and Sand Rug Runner | Truffle Brown Upholstered Storage Bench
Look 2: Square Brass Wall Frame | Matted Gold Wall Frame | Oval Ivory Storage Bench | Loloi Sage Rug Runner
After deciding which design plan we wanted to go with (stay tuned), we added the picture frame trim. Here's what we used:
Supplies:
Caulk- this one is the best
Nail Gun (if using PVC, it's recommended to use a brad nailer instead of a nail gun with an air compressor like I did- that method was fine for this project but for some reason didn't work as well this time around.
To create the wall trim, I measured the wall and played with the numbers in order to get even measurements. The end result is 3 boxes that measure 27.5" x 24" on the left side, 4 that measure 26.5" x 24" on the right, and 2 boxes that measure 9" x 24" on the slim parts of the walls. There are 2 other boxes that didn't need to match in size and were tailored to the size of the each wall- they are 30" x 24" and 34.5" x 24." Keeping all of the boxes the same height helped with uniformity. I used PVC trim, and Miter Shears for most of the cutting, but also used our chop saw. If you're looking to cut costs, PVC is a great alternative to real wood but it was a bit trickier to work with than I experienced last time. I absolutely loved using the shears. If you're afraid of trim projects, shears are for you! They make it so accessible! I shared more about how to install wall trim here.
Next I tackled the gallery wall. My inspiration gallery wall was calling and I *almost* splurged on it. But after checking my stash I knew I could create a pretty gallery wall for less. Much less. The photos were printed at Walgreens in less than an hour. My tip here: Always look for a coupon- it's usually 30-50% off. I also solved a mystery that had been plaguing me- Could phone photos be printed at Walgreens in larger sizes? The answer is yes! The fear that they'd print blurry was totally unfounded. Side note: I wanted to add sconces to this wall so badly (we bought these), but the spacing just didn't work out with the thermostat. If you're looking for gallery wall tips, I shared some here.
Gold Picture Frame with Mat (a 4 pack!) | Custom Silhouette Frame | Thin Metal Matted Frame in Gold | Thin Gallery Wall Frame | Black & Brass Matted Wall Frame | Natural Wood Gallery Wall Frame | Square Natural Wood Matted Wall Frame
I had about half of these frames and the silhouette art already but I've linked them all above- including this very affordable 4 pack of frames from Amazon!
Sorry to be dramatic with the black and white photos but you'll have to wait until next week to see the paint color. ;)
Stay tuned for the full reveal along with which design plan we went with!
This is going to be a fun year! Since 2021, we've moved slowly regarding projects. Guys, I'm not 25 anymore. DIY is physical and tires me out. Add to that busy family life with 3 kids, health issues (nothing serious, but enough to affect our capacity for other things), and simply using our budget other places besides renovation, and well...maybe I'm describing burnout. Whatever the reason, both Joe and I decided, this year needs to be a year of progress! We're being realistic about it- we'll never be a couple who pumps out monthly renovations- but we're putting our foot on the gas just a bit and I'm excited for the journey! Here are the home projects we plan to tackle this year not necessarily in order.
1. Entry
The entry has definitely improved- take a look at that before! We wallpapered it and added Crown Moulding which were major upgrades. However, it doesn't function well for our family. In August, I ditched the console table for a the prettiest bench and this year we'll finally make it beautiful and functional. Our plans include adding trim and pegs to the wall, swapping the rug and light fixture, and giving it a fresh coat of paint.
2. Guest Bath
Almost immediately after painting, I hated the guest bath color. Since the photo above, our sink has cracked and the floors have sustained water damage. Since it's a space guests see, it's becoming harder and harder to unsee. Frankly, bathrooms intimidate me. So far, we've added added wall treatments, trim, art, and paint to our bathroom and the kids' bath, but have never done a full renovation. This one won't be too crazy- the footprint will stay the same but we'd like to add beadboard (maybe wallpaper?) a new vanity, toilet, and flooring. We also plan to make the little nook into a utility closet. Can we do it? Stay tuned to see!
3. Primary Bedroom-ish
I've never planned our primary bedroom outside of an initial coat of paint (side note: it's Sherwin Williams Cascades and hands down my most asked about paint color) and bed purchase. Everything in the room has always slowly evolved- often due to collaborations- but without the kind of thought and intention needed to really make it sing. Our plans for this room include flooring, wall trim, and new furnishings. I say "ish" because depending on budget, it may just be flooring and paint this year. We'll see...
4. Kids' Playroom
At one point, we made the playroom into a temporary guest room. Shortly after that, it became storage while we renovated the office. And it just hasn't recovered. It used to be adorable and organized but lately, it's largely ignored. Dax loves to lug our extra TV in there (anyone else have a TV that doesn't technically have a home?) and game but with no seating or TV stand, it's a sad set up for sure. We plan to add a loveseat and a TV and sideboard. If space permits, we'll add some sort of game (maybe a small foosball table or wall mounted arcade game?), and small table for Lego or crafting. Of course I plan to add fun decor and accessories and I've been dying to wallpaper a ceiling...Let's see what we come up with!
5. Carpet
I told Joe what I don't want is to replace the carpet just before listing the house. I want to enjoy it while we're still in this house. We were starting down that path last year until a few unexpected and costly repairs hit. Following those expenses, we took several big [read expensive] trips and no regrets. ha. But it's time!
6. Kids' Bath
I still love the kids' bath. It just needs a little refresh. The flooring is peeling and I'm afraid the subfloor is going to rot if we don't do something about it soon! I grabbed these and can't wait to install them. But I can't stop at replacing the floor. If you give a mouse a cookie...I might as well swap mirrors and maybe the light fixture too. Stay tuned!
We've been in our home for 9 years and I wish it was "finished." At the same time I'm comfortable moving at the speed of cash and our energy level, neither of which is limitless. ha. We haven't touched the laundry room, the garage needs serious help, and our kitchen could use a refresh. But we'll cross that bridge in 2025. By then, everything else will be in a good place and we can really put our all into the heart of our home. And then we'll move. ;)
What are you planning to tackle this year? I'd love to hear about it!
Thank you Handy Paint for sponsoring this post. As always, all opinions are mine.
It's week 6 of the One Room Challenge™ and today I'm bringing you a fun tutorial for how to make a fluted side table. This is one of those trending DIYs that I just had to get out of my system. And bonus, I'm also sharing how I stain wood with craft paint. Once you do it this way, you'll never want to go back! Ever since I stained our DIY framed mirror with craft paint, I've been obsessed with the method and have fielded lots of questions in my DMs so now I'll have it in one place for you. This DIY takes a little time but is actually fun and easy to do (unlike caulking. IYKYK), so let's get to it- here's how to make a DIY fluted table in a beautiful oak-like finish and I'm using my favorite Handy Paint painting products which always help a project go more smoothly.
It's week 4 of the One Room Challenge ™ and let's recap. This year I'm a featured designer (pinch me!) and the pressure is on! We have (had!) eight weeks to completely transform a room. You can see in this post we decided to tackle our neglected loft family room. Our goal was to add storage and family-friendly style! Ok- back to this week...In some ways, time is FLYING. In other ways, it's crawling by as I check FedEx tracking numbers ad nauseam. Guys, I'm pretty sure I'm gonna make it but man is it gonna be a nail-biter! I don't have a tutorial for you this week, but I thought I'd share our progress and pain points instead. Kind of a check-in. So here goes:
It's week 3 of the One Room Challenge and the shiplap is complete. I repeat the Vertical Paneling in the Family Room is complete. Phew. There's so much left to do but adding a wall treatment and hiding cords (something that's been on our list for like ever) is a big to-do marked off. We've installed shiplap twice- here and here- but never shared a step-by-step tutorial for installing vertical paneling so keep reading for that plus a peek at what's hidden behind ours. I'll also add that this is a great beginner project if it's just one wall- there's not a lot of math or woodworking involved. You can do it!
This post is sponsored by Handy Products. As usual, all opinions are mine. 

Guys! We marked another "we'll get to it one day" DIY off our list! From the moment we moved into this home, we wanted to add trim to the dining area but we planned to hire it out. Well, guess what? We didn't hire it out. We did it ourselves and I could not love it more! This is one of my favorite DIYs yet (hence the 12 exclamation points)! Here's what you need to make your own easy box trim! Oh but before I get too far into it, let me tell you our dining room needed a fresh coat of paint in the worst way. With 3 little ones, the walls get gross real fast. Handy Products were the real MVP of this project. They have a variety of sizes of pails and trays, paint covers, and accessories that really help any job- big or small- go more smoothly! But more on paint later...
This is a sponsored post written by me on behalf of Cricut. All opinions are 100% mine.
Who wants to hang onto summer just a little bit longer? Granted, it's been a weird one but nothing beats lazy mornings, pool time, and summer fare. I don't have much of a green thumb but I grew basil this summer and really enjoyed it. I plan to carry that into fall, only this time, created a pretty, hanging herb garden with some of our favorite herbs we use all year. Plus we spend a lot of time on our patio in the fall and they also serve as a bug repellant. That's what you call a win/win people. I recently received a Cricut Maker - cue excited squeals- and thought it would be the perfect way to embellish my hanging herb garden by creating clean and modern labels for the pots. Here's what you need to replicate this project!
Vinyl Starter Kit - it includes vinyl, transfer tape, weeder, scraper, and more
Planter Hanger
-Any hanger will do. Just make sure you can see the label. This one is a similar ring style to mine (sorry, my specific hangers are sold out!) and comes with pots, but smaller. If you use a smaller pot you may need to resize the labels in design space.
Herbs
This was my first time using the Cricut Maker so these instructions are literally written for someone with zero knowledge/skill! And as you can see, my project is pretty simple too. You can do this!
But first, a bit about the machine. The Cricut Maker is an amazing smart cutting machine. Listen- this thing cuts leather, fabric, basswood, craft foam, denim, light chipboard...the list goes on. I love that it's so versatile because it means the possibilities are literally endless. In my opinion, that's one reason it's worth the investment. Besides what you can do currently- emboss, engrave, create perforations, etc, Cricut will continue to expand the suite of tools to add even more options. Lastly, as a first-timer, I can say the hardest part of this machine is simply getting over my fear of using it! It can be intimidating but is really easy to use. I suggest reading through the materials to get over the hump of feeling like you don't know what you're doing! Even reading the instructions that come with the Vinyl Starter Kit was so helpful. I also love that during the initial set up, it prompts you to cut right then and there which quickly gets that first time using it out of the way. I highly recommend not skipping that step! Okay back to the project-
DIY Hanging Herb Garden Tutorial
First, place your planter in its hanger and make a light pencil mark where you want your label. For my project, I marked just under the ring and then added about an inch.
You can find the labels I used here. Once you've opened the project, follow the prompts in Design Space to cut.
Once the machine is finished cutting, cut the excess vinyl off (cutting the labels apart from each other*) and then used the weeding tool to gently pull back the backing, starting in the corner and keeping the image as straight as possible.
Next, gently apply transfer tape over the label, slowly taking the backing off by peeling up the transfer tape.
Finally, place the transfer tape on your planter using your marking as a guide and use the scraper tool. Slowly peel the tape off. If the vinyl comes off with it, simply press it back down, burnish again, and try again. Take your time!
Repeat for each label.*
*For the rosemary label, I cut it in half and applied each side separately. Since the planter is round I found the label was slanting. You may want to cut it into 3 pieces.
I love how it turned out! The smell of mint feels like summer and I'm eager to make my smokey turkey shepherd's pie with fresh rosemary.
Make sure to check out a variety of projects here on the Cricut blog- there you'll find weekly home renovation project inspiration and tutorials! So many fun ideas await!
The first step to creating an office nook in our kitchen was figuring out the desk. That was a challenge and took forever. We settled on white oak and found two 8/4 pieces that were long enough- about 103 inches. In hindsight, it seems like a miracle that we found those! (I'll share more about those later as they're being installed)! As for the shelving, finding suitable lumber is proving to be even more difficult.
I received a product in exchange for this review. As always, all opinions are my own.
I've been working on Dax's big boy room little by little. When I began planning its refresh, I decided to skip a theme. Since he's still little I know his interests will change. It feels like he was in his nursery just yesterday so I want to make sure this room can easily grow with him. For now, I'm incorporating all of the things he's into at 3. From truck bedding and vintage football decor to animals and superhero capes, it's all the stuff
Sharing a fun and simple DIY today. My spice cabinet was out of control so I decided to make some jars to keep in the drawer next to the stove. If you want to make some, here's what you need!
I love wall hangings, but I don't have $100+ to spend on one. So of course I decided to make my own. Here's how. Brace yourself- it's so, so easy.
At the end of the year, I like to determine the top 10 posts of the year. It's also nice to see the projects I've completed and touching (and sometimes funny) to look at the personal posts I've shared. Here are the top 10 posts based on page views and sorted by least to most read:
10. Anti-Aging Hair Tips From a Celebrity Stylist + My Most Embarrassing Problem.
I'm glad you all like sponsored posts because I plan to do more of them in 2016. Let's get paid shall we?
9. We Bought a House! And Other Things That Have Been Keeping Me From Blogging. Whenever there's a lull, I like to post a little update. It's a glimpse into real non-bloggy life.
8. How to Have a Marriage That Can Survive Newborns. Being vulnerable is scary. Giving marriage advice? Even scarier. When I read this back over it sounds harsh! Oops.
7. DIY Arrow tutorial. Sort of. Dax's nursery is a reader's favorite and this little tutorial is one of the few DIYs in his room.
6. Kitchen Planning in a New Construction Home. It's so fun to blog about home stuff. With little time and little budget, my progress will be painfully slow, but I'm excited to share it. Expect more "progress" posts than big reveal type posts. Spoiler alert: The kitchen. I love it! I can't wait to share it with you.
5. Head & Shoulders Moisture Care Review plus a Date Night Look. Update: I still use Head & Shoulders. Not more than 20 minutes ago I decided to grab a new supply since I'm battling dandruff again (TMI?). The product works. And I've already been paid so this is all me. wink.
4. No Sew Felt Crown Tutorial. Thanks to this one being featured in a round up on Sew Mama Sew, it made the top 10!
3. 10 Things NOT to Say to Me During the Final Weeks of Pregnancy. This was a funny post I wrote while pregnant, then shared much later. Read it and laugh.
2. Small Space Toy Storage, Easy DIY Toy Labels + a Glimpse at a Shared Kids' Room. I love this one. It's a realistic solution to a problem many of us face. Now that we have a playroom I have to reconfigure but the labels are working well for us.
1. How to Paint Mason Jars Without Chalk Paint. By a landslide this was number 1. It's a random tutorial shared as a result of this mini shower I co-hosted. I'm happy that people found value in it.
I was surprised to see zero parties but then again I'm not sure I blogged any this year! This list is a fun variety of topics and I like that it's a bit of home + projects + real life thrown in. It goes perfectly with the direction I'm taking this blog. Stay tuned for fun changes in 2016 included a new look, more focus, and a new NAME! I'm excited! Come along for the journey friends! You can find me on twitter here, Facebook here, Instagram here, bloglovin here, or subscribe by email on the top right of the blog.
10. Anti-Aging Hair Tips From a Celebrity Stylist + My Most Embarrassing Problem.
I'm glad you all like sponsored posts because I plan to do more of them in 2016. Let's get paid shall we?
9. We Bought a House! And Other Things That Have Been Keeping Me From Blogging. Whenever there's a lull, I like to post a little update. It's a glimpse into real non-bloggy life.
8. How to Have a Marriage That Can Survive Newborns. Being vulnerable is scary. Giving marriage advice? Even scarier. When I read this back over it sounds harsh! Oops.
7. DIY Arrow tutorial. Sort of. Dax's nursery is a reader's favorite and this little tutorial is one of the few DIYs in his room.
6. Kitchen Planning in a New Construction Home. It's so fun to blog about home stuff. With little time and little budget, my progress will be painfully slow, but I'm excited to share it. Expect more "progress" posts than big reveal type posts. Spoiler alert: The kitchen. I love it! I can't wait to share it with you.
5. Head & Shoulders Moisture Care Review plus a Date Night Look. Update: I still use Head & Shoulders. Not more than 20 minutes ago I decided to grab a new supply since I'm battling dandruff again (TMI?). The product works. And I've already been paid so this is all me. wink.
4. No Sew Felt Crown Tutorial. Thanks to this one being featured in a round up on Sew Mama Sew, it made the top 10!
3. 10 Things NOT to Say to Me During the Final Weeks of Pregnancy. This was a funny post I wrote while pregnant, then shared much later. Read it and laugh.
2. Small Space Toy Storage, Easy DIY Toy Labels + a Glimpse at a Shared Kids' Room. I love this one. It's a realistic solution to a problem many of us face. Now that we have a playroom I have to reconfigure but the labels are working well for us.
1. How to Paint Mason Jars Without Chalk Paint. By a landslide this was number 1. It's a random tutorial shared as a result of this mini shower I co-hosted. I'm happy that people found value in it.
I was surprised to see zero parties but then again I'm not sure I blogged any this year! This list is a fun variety of topics and I like that it's a bit of home + projects + real life thrown in. It goes perfectly with the direction I'm taking this blog. Stay tuned for fun changes in 2016 included a new look, more focus, and a new NAME! I'm excited! Come along for the journey friends! You can find me on twitter here, Facebook here, Instagram here, bloglovin here, or subscribe by email on the top right of the blog.
Happy New Year!
A while ago I grabbed an unfinished Christmas tree ornament from Michael's. It was a blank canvas begging for a DIY. Inspired by our recent move, I decided to make a state ornament. This was one of my favorite projects. Here's how to make your own:
In honor of the upcoming Thanksgiving meal prep, I thought
it would be fun to tackle a DIY apron.
Even better- it’s completely no-sew (unless you want to sew in which
case I say have at it...show off). This fun apron
features accent fabric and hand stamping.
Side note: this is a great way to use up those fabric scraps.
Hello Spring! This DIY is perfect for spring right? I've seen some floral monograms lately and have fallen in love. It was definitely one of those DIYs I needed to get out of my system. I used my friend's sweet baby girl's arrival as an excuse to try my hand at one. This was a fun and easy project. I promise.
.jpg)

.jpg)
.jpg)
.jpg)
.jpg)
).png)
).png)
).png)
.jpg)
.jpg)
.jpg)


.jpg)


.jpg)