Floral Monogram DIY
9:00 AM
Hello Spring! This DIY is perfect for spring right? I've seen some floral monograms lately and have fallen in love. It was definitely one of those DIYs I needed to get out of my system. I used my friend's sweet baby girl's arrival as an excuse to try my hand at one. This was a fun and easy project. I promise.
Supplies:
Glue--I used this glue gun.
That's it! I love it when projects only have a few supplies. These days I can't handle projects with tons of components. Seriously I end up losing the pieces before I even start the project. Keeping it simple ensures I'll actually finish what I start.
Much like the Mason Jar DIY this project is pretty straight forward. No step by step instructions needed, but here are some tips:
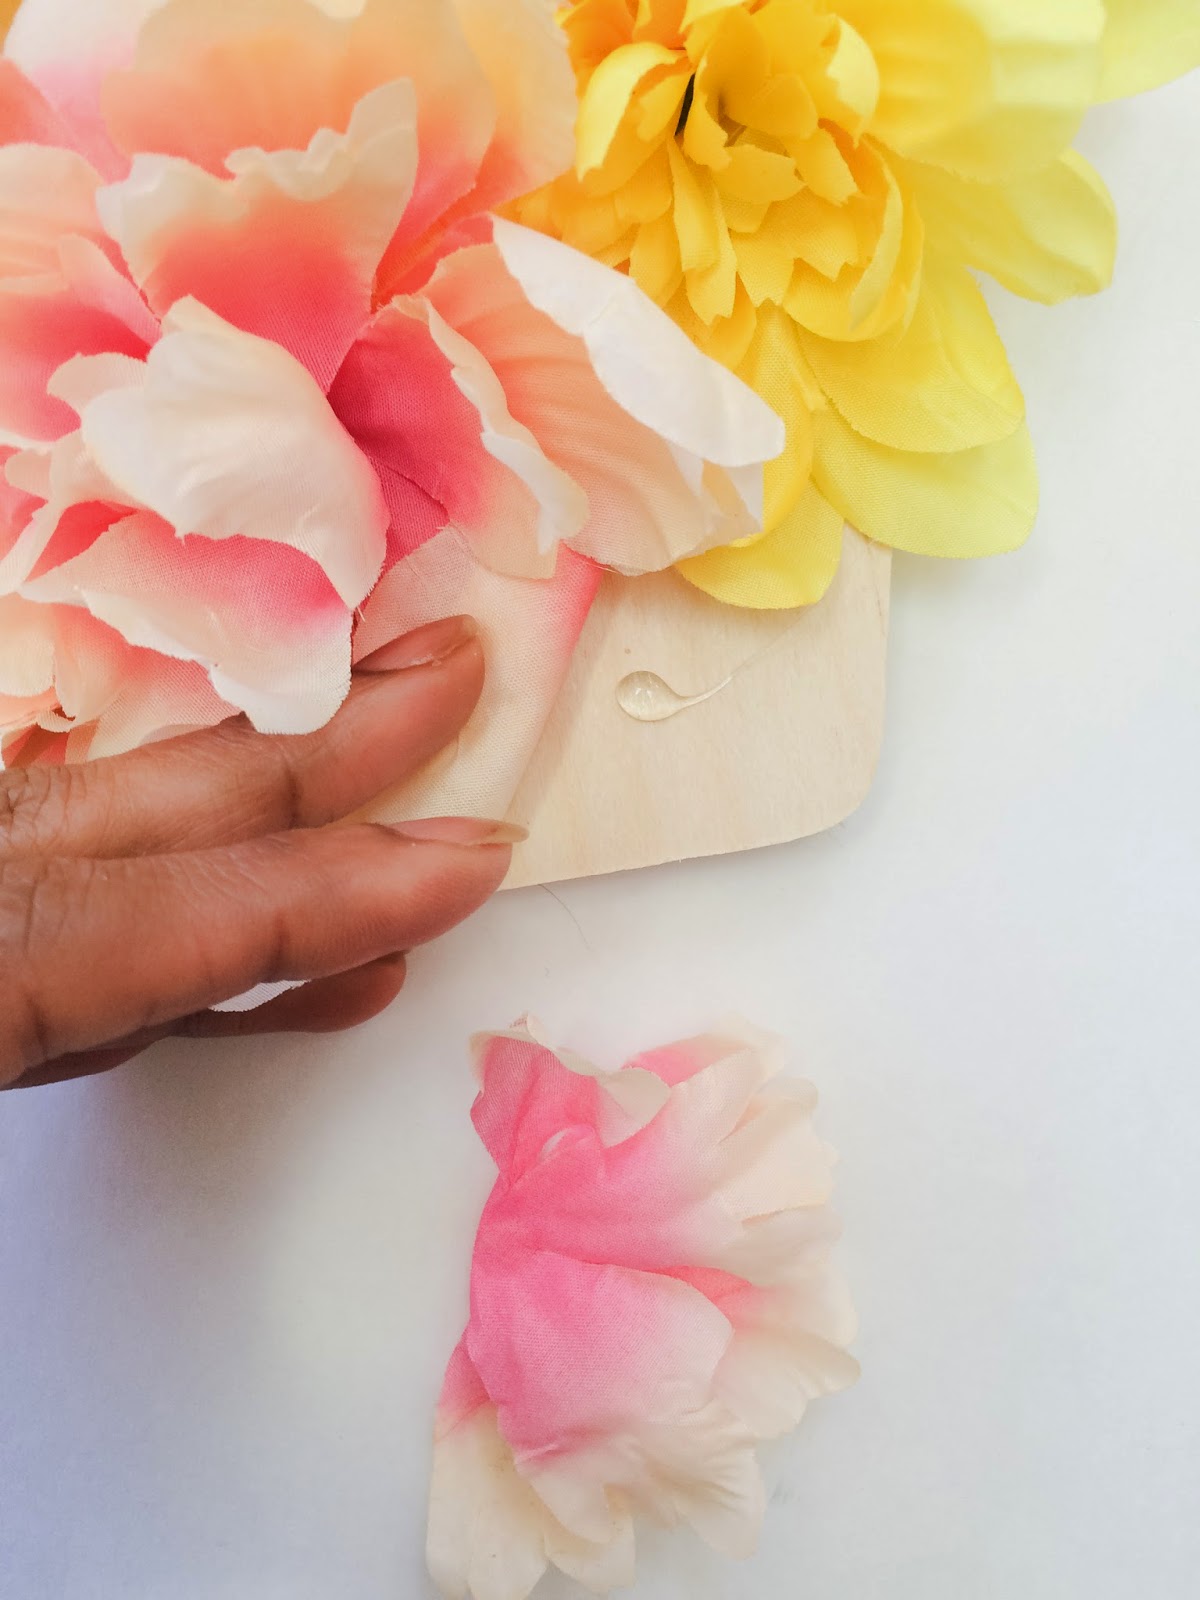
2. Arrange the flowers on your letter first. You can glue as you go but I found it really helpful to get the overall picture and do some arranging before I glued the flowers down. Keep in mind when you start gluing, they tend to bunch together more so be prepared to add some filler.
3. As for "filler," I took apart some of the flowers (no stem) to pinch and glue/fill in any blank or sparse sections.
That's it! So easy! I'm always drawn to projects that make for easy personalizing. You can use whatever colors you choose and even use pricier stems for a more luxe look. You could also only cover a portion of the letter (like I shared in this instagram). As for the letter itself you can use cardboard, wood, MDF, small, large, etc. to make it your own. For this one, I had the color scheme of my friend's nursery so I went with flowers that matched.
Now I need to make one for myself!


2 comments
This is gorgeous Tiffany!!
ReplyDeleteThanks Laurel! Means a lot coming from you miss DIY queen.
Delete