How To Make Pine Look More Like Oak (And Other Staining Tips)
11:44 AM |
| original finish |
first, sand the wood and get rid of any remaining dust. I saw the difference clearly between sanding and not sanding since I forgot to sand for tests 1 and 2. Cant you tell?!
second, make sure to use a wood conditioner. It really helps and pine needs all the help it can get. Okay, here are the combos I tested and the products I used*:
Sanding block
Wood conditioner
Early American Stain
Golden Oak Stain
Whitewash Pickling Stain
Weathered Oak Stain
Sander
*Most of my supplies were from Home Depot except the whitewash stain- got that from Amazon!
Here are are the stains I tried on the pine "test" piece:
1. weathered oak
2. golden oak, and then the next day, whitewash pickling stain that I wiped off after a minute.
3. weathered oak + early American wiped off right away.
4. weathered oak + early American allowed to sit for a couple of minutes before wiping off.
5. weathered oak (heavy-handed) + early American allowed to sit for 5 minutes before wiping off.
6. golden oak allowed to sit for 2 minutes.
7. golden oak lightly applied + whitewash pickling allowed to sit for just a minute before wiping off.
and then on a whim:
8. early American + the whitewash pickling stain. (not pictured but trust me when I say it looked disgusting).
It might seem like overkill to test all of these but unless you have experience staining, I'd suggest you do the same! How the final piece will look can vary based on how much stain you use, the wood prep, how long you allow the stain to sit on the wood, etc. So it's best to figure out your plan on a piece of test wood. But understand each piece of wood is different and so your results will be slightly different from your test. Also, I know they all look very similar here but in person, the differences are more noticeable. And really this 'test' is only comprised of a few variations I knew I'd like.
My favorite was #5 and #7. I couldn't decide so I asked Joe, who voted for #7. I was so afraid of using the whitewash for some reason but I figured the worse that could happen is that I wouldn't like it. And guess what? I already didn't like the mirrors so did I really have anything to lose? DIY takes courage y'all!
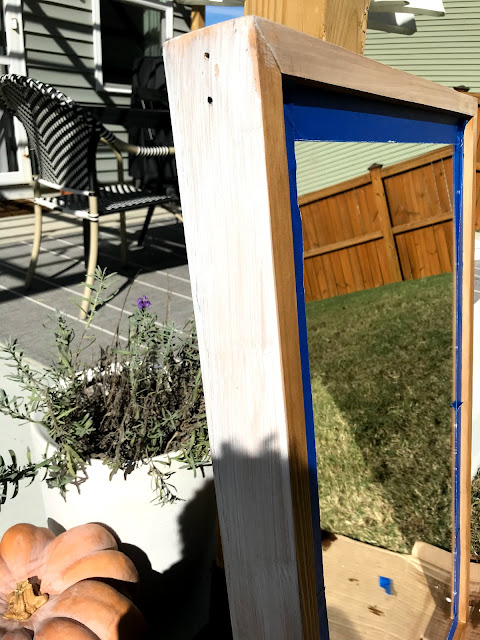
Ok so before staining the mirrors, I sanded off their waxed pine finish. I used an older version of this sander. The wood sanded really nicely- smooth and uniform. It was time to stain!
Here's what I did to attain its new "oak-like" finish:
2. Next, I applied golden oak lightly, meaning I dipped my cloth (I used an old t-shirt) into the stain and wiped it over the wood, rubbing it in as I went so as not to let it "puddle" anywhere. I let it dry for a few minutes. I was working outside in the sun so it didn't take too long for it to be dry to the touch.
3. Then, using a foam brush, I applied the white wash pickling stain. I used a little more whitewash to cover the area. I allowed that to sit for just 45 seconds. I learned that if I let it sit too long it became hard to wipe off after. Remember, you can always do another coat but you can't go backward. So start light-handed! After less than a minute, I wiped it up (in?) with a cloth. I worked on one section at a time so the whitewash pickling stain wouldn't run or dry too quickly. In fact when I tried to work on one section while the other dried, the stain ended up drying too quickly! So take your time.
And the result:
And as with any DIY project, make sure to start in the most inconspicuous place you can! That way you can get the hang of it in an area that's not very obvious. For this project, that was the very top where no one can see. Starting there gave me a chance to get in a groove.
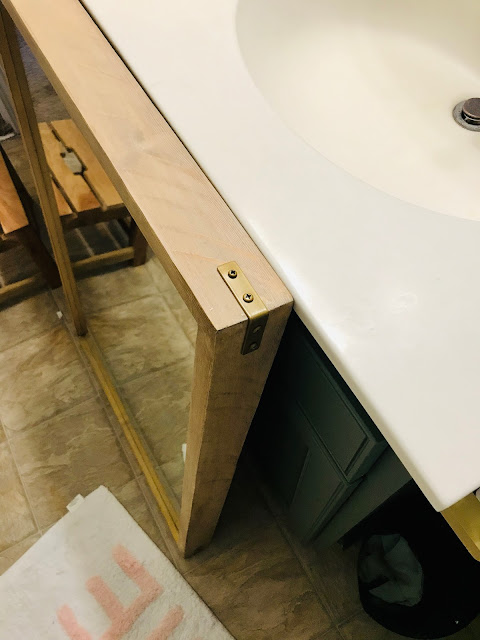
The mirrors are not perfect but are SUCH an improvement from where we started! I hope these tips for staining pine to look more like oak were helpful! And side note, if you're looking for pretty wood mirrors, these wood-look mirrors are awesome! I was so tempted to keep them!
*affiliate links included. Thanks for supporting Pretty Real Blog. ♥


16 comments
THANK YOU FOR SHARING THIS INFO!!!!!!
ReplyDeleteDoes the white wash darken over time? I tried this method, I didn't factor in hot weather that day, all of the white wash started drying before I had a chance to wipe it off. Also I found the white wash too white over the stain.
ReplyDeleteit did not darken for me- but yes, it dries super quickly. I ended up working in small sections and wiping it off almost immediately after putting it on.
DeleteIf you use Golden oak one gallon and a pint of early American make sure you stir it very well then you will accumulate the color that you are looking for and it is more oak looking finish. Also use a wood sealer previous to applying the stain on your wood as the urethane will also help with the darkening
DeleteThis is incredibly helpful. I am using some ikea pine drawers for a diy desk situation and my inspiration is with oak so I have been trying to strategize how to do this! Looking forward to giving your technique a go!
ReplyDeletehope it worked for you!
DeleteThank you, thank you! Currently building on a budget and looking for stains to make pine stair treads more palatable... this is so helpful. <3
ReplyDeleteSo glad!
DeleteI assume these were a 1 to 1 mix as you did not specify a different ratio that I could see
DeleteI am curious as I did not see any mention in the blog. Was this a 1:1 Ratio mix? I need to know because I have a client asking me to duplicate one of these. Thank you in advance.
DeleteI didn't mix the stain prior to applying so there's no ratio. I just applied one, then applied another on top of it. Hope this helps!
DeleteSo does 5 and 7 have any white wash added to them, or just stain?
ReplyDeleteI bought pickling stain and tried on the inside of my wood bathroom vanity and it is coming out too white. I'm wondering now if I need to sand first and add wood conditioner. I think it is pine. I was hoping to avoid sanding...
ReplyDeleteGreat read!
ReplyDeleteWhat brand stain? Minwax?
ReplyDeleteyes, minwax. It's linked!
Delete