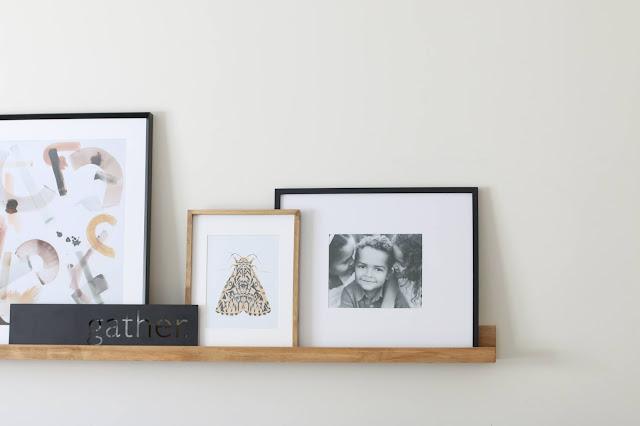
How To Make a Ledge Shelf When You Barely Know How to Use a Drill
11:21 AMSupplies
1x2x10
2x3x10 (2)
Stain in the color of choice (I used Early American and Weathered Gray)
1 1/2 in Screws
Sanding Block
Drill
Stud Finder
2 in Screws (to screw into the wall)
When you purchase your wood, make sure to hold the wood up and get the straightest pieces you can. This helps the process.
***You could stain or paint your wood first which would probably be easier. If you choose to do that, skip to the bottom and follow those steps (staring with sanding) and then after that, hop back up here to assemble the shelf!***
First, glue the pieces together. You're going to Glue the bottom piece to the front lip and to the backplate/back board. Be careful not to use too much glue. After you glue it, quickly wipe away excess (follow the instructions on the glue bottle) because once it's dry, it's not going anywhere. You can see in the photo below, I got a little glue happy. Once the glue is on, clamp it together and wait the allotted time.
Once the glue is dry, on the back board (the one that will go against the wall) mark where you'll screw the boards together. I marked every 12 inches.
Next drill pilot holes. Basically, just drill into your markings.
Now it's time to drill the screws in. Use your pilot holes, but be careful to keep the drill level- I had one screw almost coming out of the bottom. It's been years since I've used a drill and I don't do it often- I told you- in this new DIY world, I'm a beginner. If I can do this, YOU GOT THIS.
That's the hard part and it's over!
Sand your shelf. If you watch my highlight, you'll see that I questioned whether I sanded it enough. I bought the higher quality wood and it had a slight sheen to it. Because of that, I should've sanded it a bit more. Make sure you're sanding off any sheen if there is one.
Then I applied the pre-stain with a foam brush. I forgot that you're supposed to apply stain within a couple (3?) hours of the pre-stain, so make sure to read instructions on the product you're using every step of the way- along with this tutorial or any other you're using. It will save you some headaches.
Next, stain your shelf. I stained the back first so I could practice and play around with my stain before getting to the front (the only part that will be very visible). I always suggest starting in an inconspicuous spot when DIYing.
What ended up working for me was using weathered gray but wiping it off almost right away and then layering Early American on top of it and wiping it off after 10-15 minutes but checking to make sure it wasn't drying in-between. I think I did a few coats before I liked it. With stain, you can always add more but can't take it away so I suggest using a light hand initially. Then just keep layering until you're happy. Check the Instagram highlight to see me talking this through. ;)
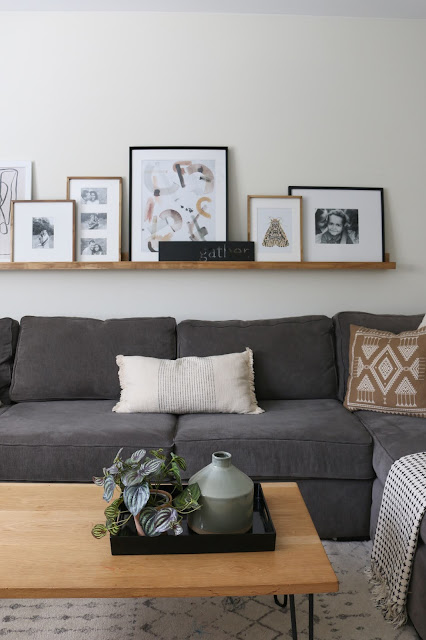
To hang it, we decided where it would go. Ours is about 13 inches above the sofa but if I had to do it over again, I'd hang it about 5 inches higher. I admit to loving the look and no one has hurt themselves but it feels a little too close for comfort! Once we determined placement on the wall, Joe found the studs, drilled pilot holes, and then drilled the ledge right into the studs using the pilot holes.
Sources: Moth Print, Trails print, and Confetti print can all be found here | sectional | Similar Coffee Table | Oversized White Pillows | Similar kilim pillow | Large Frame (spray painted black) | Other frames are from TJ Maxx/HomeGoods
And that's it! My very first, very easy "build." Can I call it that? I'm calling it that.
Thanks for the instructions and inspiration Angela Rose Home and Chris Loves Julia.
Affiliate Links Included.


0 comments