How to Build Shelving in a Corner Pantry Plus Pantry Sources!
9:59 PMToday I'm wrapping up the pantry project by sharing how we built the shelves. Adding built-in shelving took this corner pantry to the next level and is a fairly budget-friendly DIY that anyone can do with some patience. Here's how we built our corner pantry shelves (and skip to the bottom if you're just here for all the sources!):
Supplies:
1x2x8 wood pieces
Paint - I used Sherwin Williams Portico
Primer (my favorite primer)
Nail gun or brad nailer and finishing nails
Caulk (optional)- this is the best caulk ever and I will never not use it!
Dry Wall anchors - these are the best
Circular Saw*
Table Saw*
Chop Saw* (you could get away with not using a chop saw if you have a helper- I'll explain in a bit)
*If you have them cut everything for you at Home Depot, you may not need the saws.
Instructions
Cleat Method:
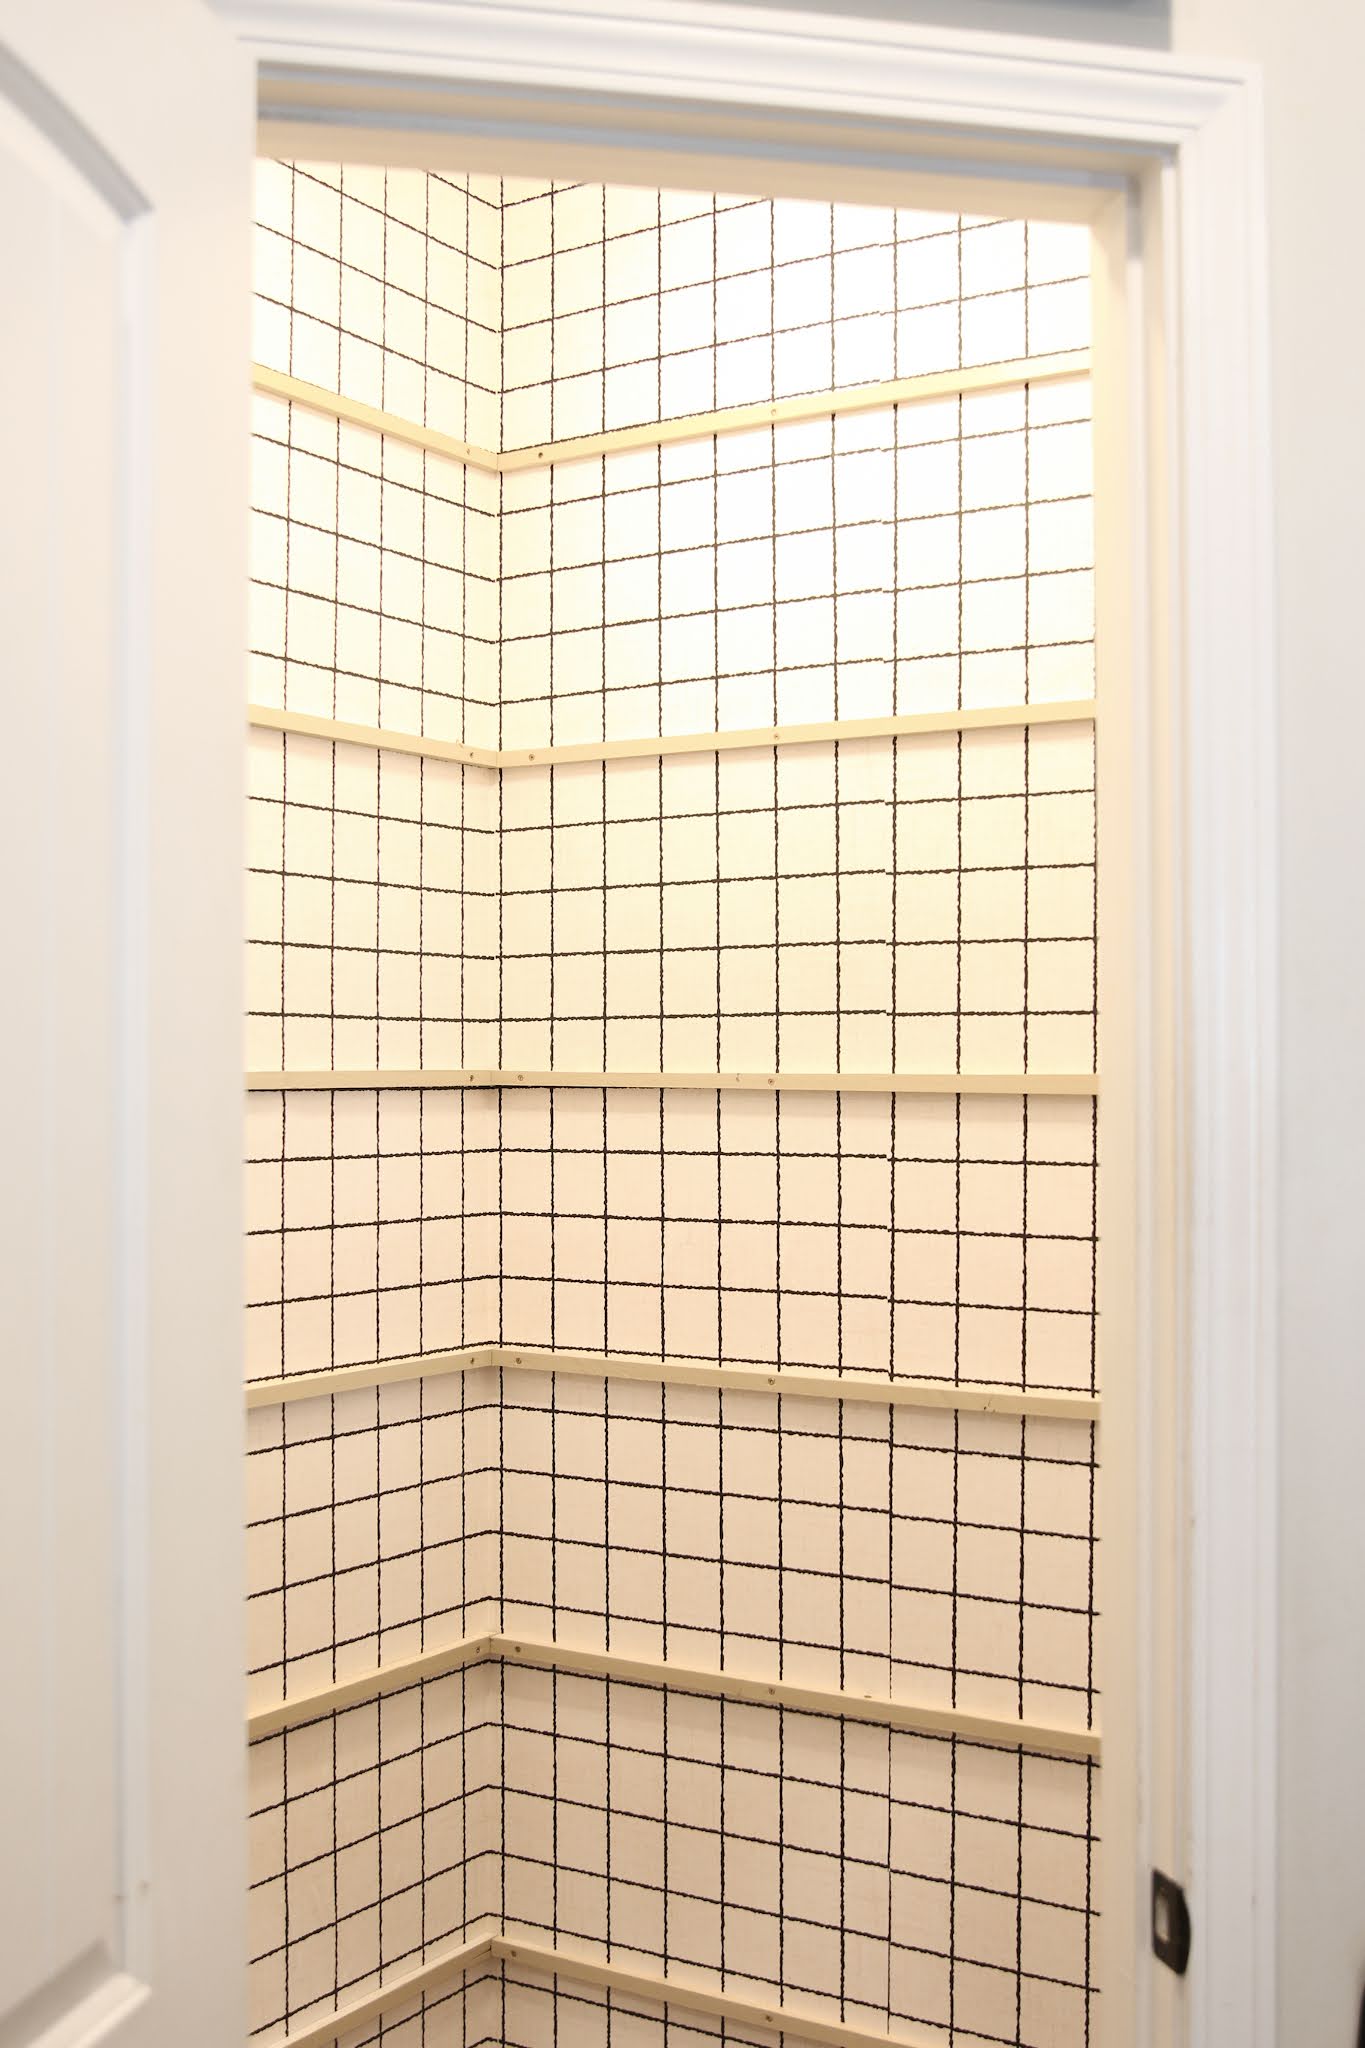
We used the cleat method for this pantry which means you rest your wood (or MDF in our case) on braces. It eliminates brackets but keeps it secure since you can drill the braces into the studs.
First, we purchased 3/4 MDF panels from Home Depot. They only had one big sheet left so I purchased that and then 3 smaller panels and cut them to size ourselves. FYI, it's cheaper to buy the big panels and have them cut it but I was on a tight schedule. Our finished sizes ended up being:
5 13.5x48
1 12 x 48
5 13.5 x 30.5
1 12 x 30.5
Shelf Depth
The trim piece you'll add on the front will add 3/4" so be sure to keep that in mind when deciding your shelf depth. To decide ours, we simply looked at how we used our pantry before- the depth was about 16" and felt too deep. Now, they are 14.25" with the one at the very top being 12.75".
We then cut all of our brace pieces and painted them - 1 long one to run the length of the back of the pantry per shelf, then 2 sets of side pieces for the sides of the shelves. Oh and I should mention, we cut the 1x2s in half lengthwise to use them as braces.
After painting these, I knew it would be much easier to paint all the shelving and braces ahead of time so that's what I did. Trust me on this! Do it first (unless you're spraying or using fewer than 12 shelves). This is my favorite primer.
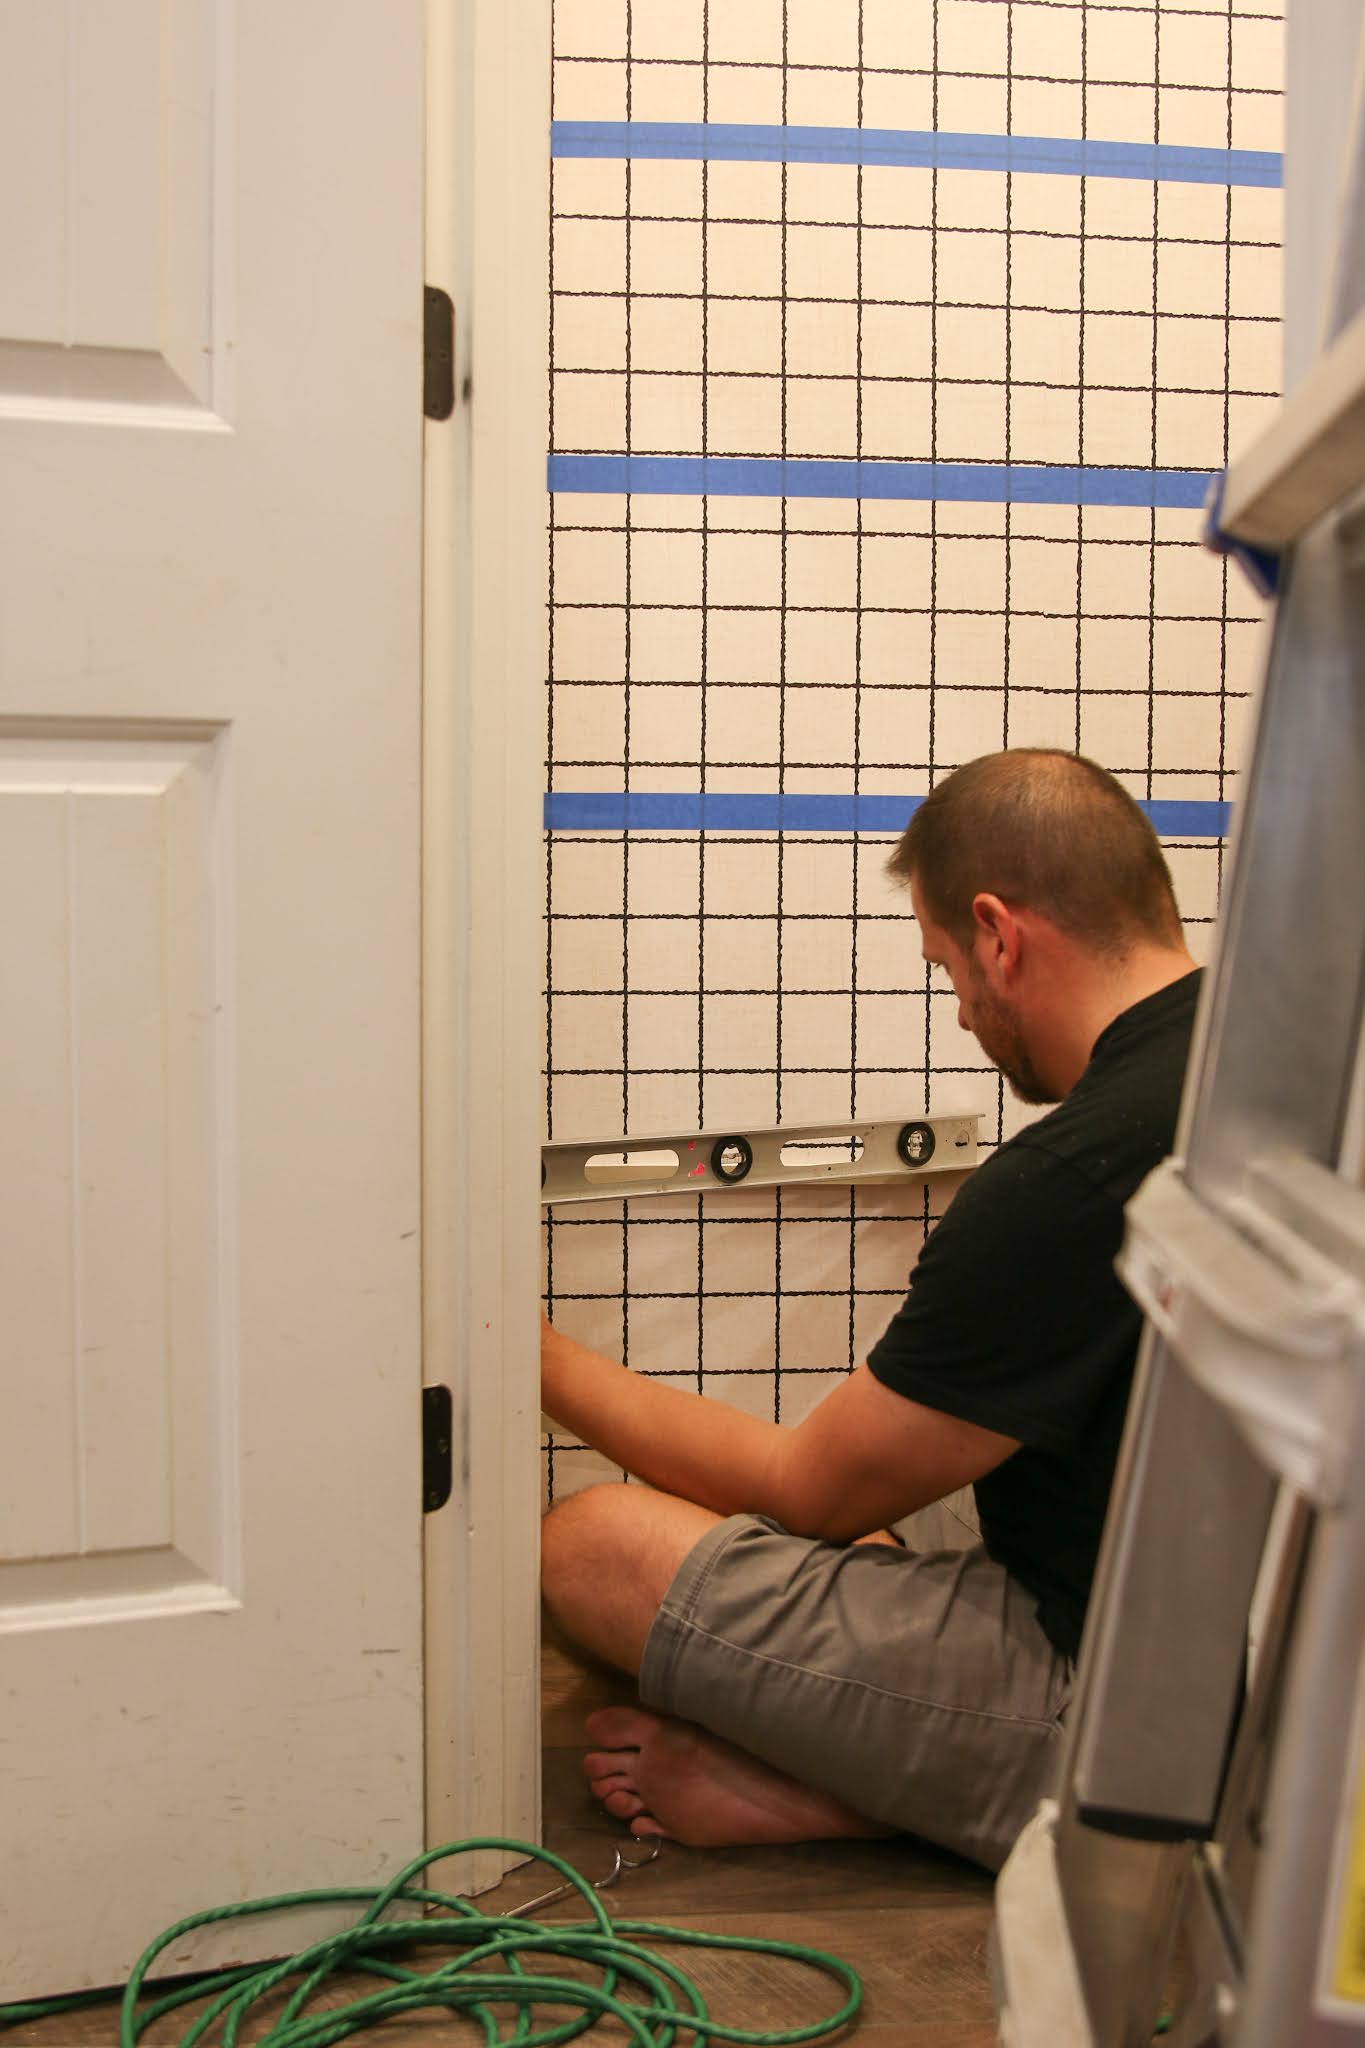
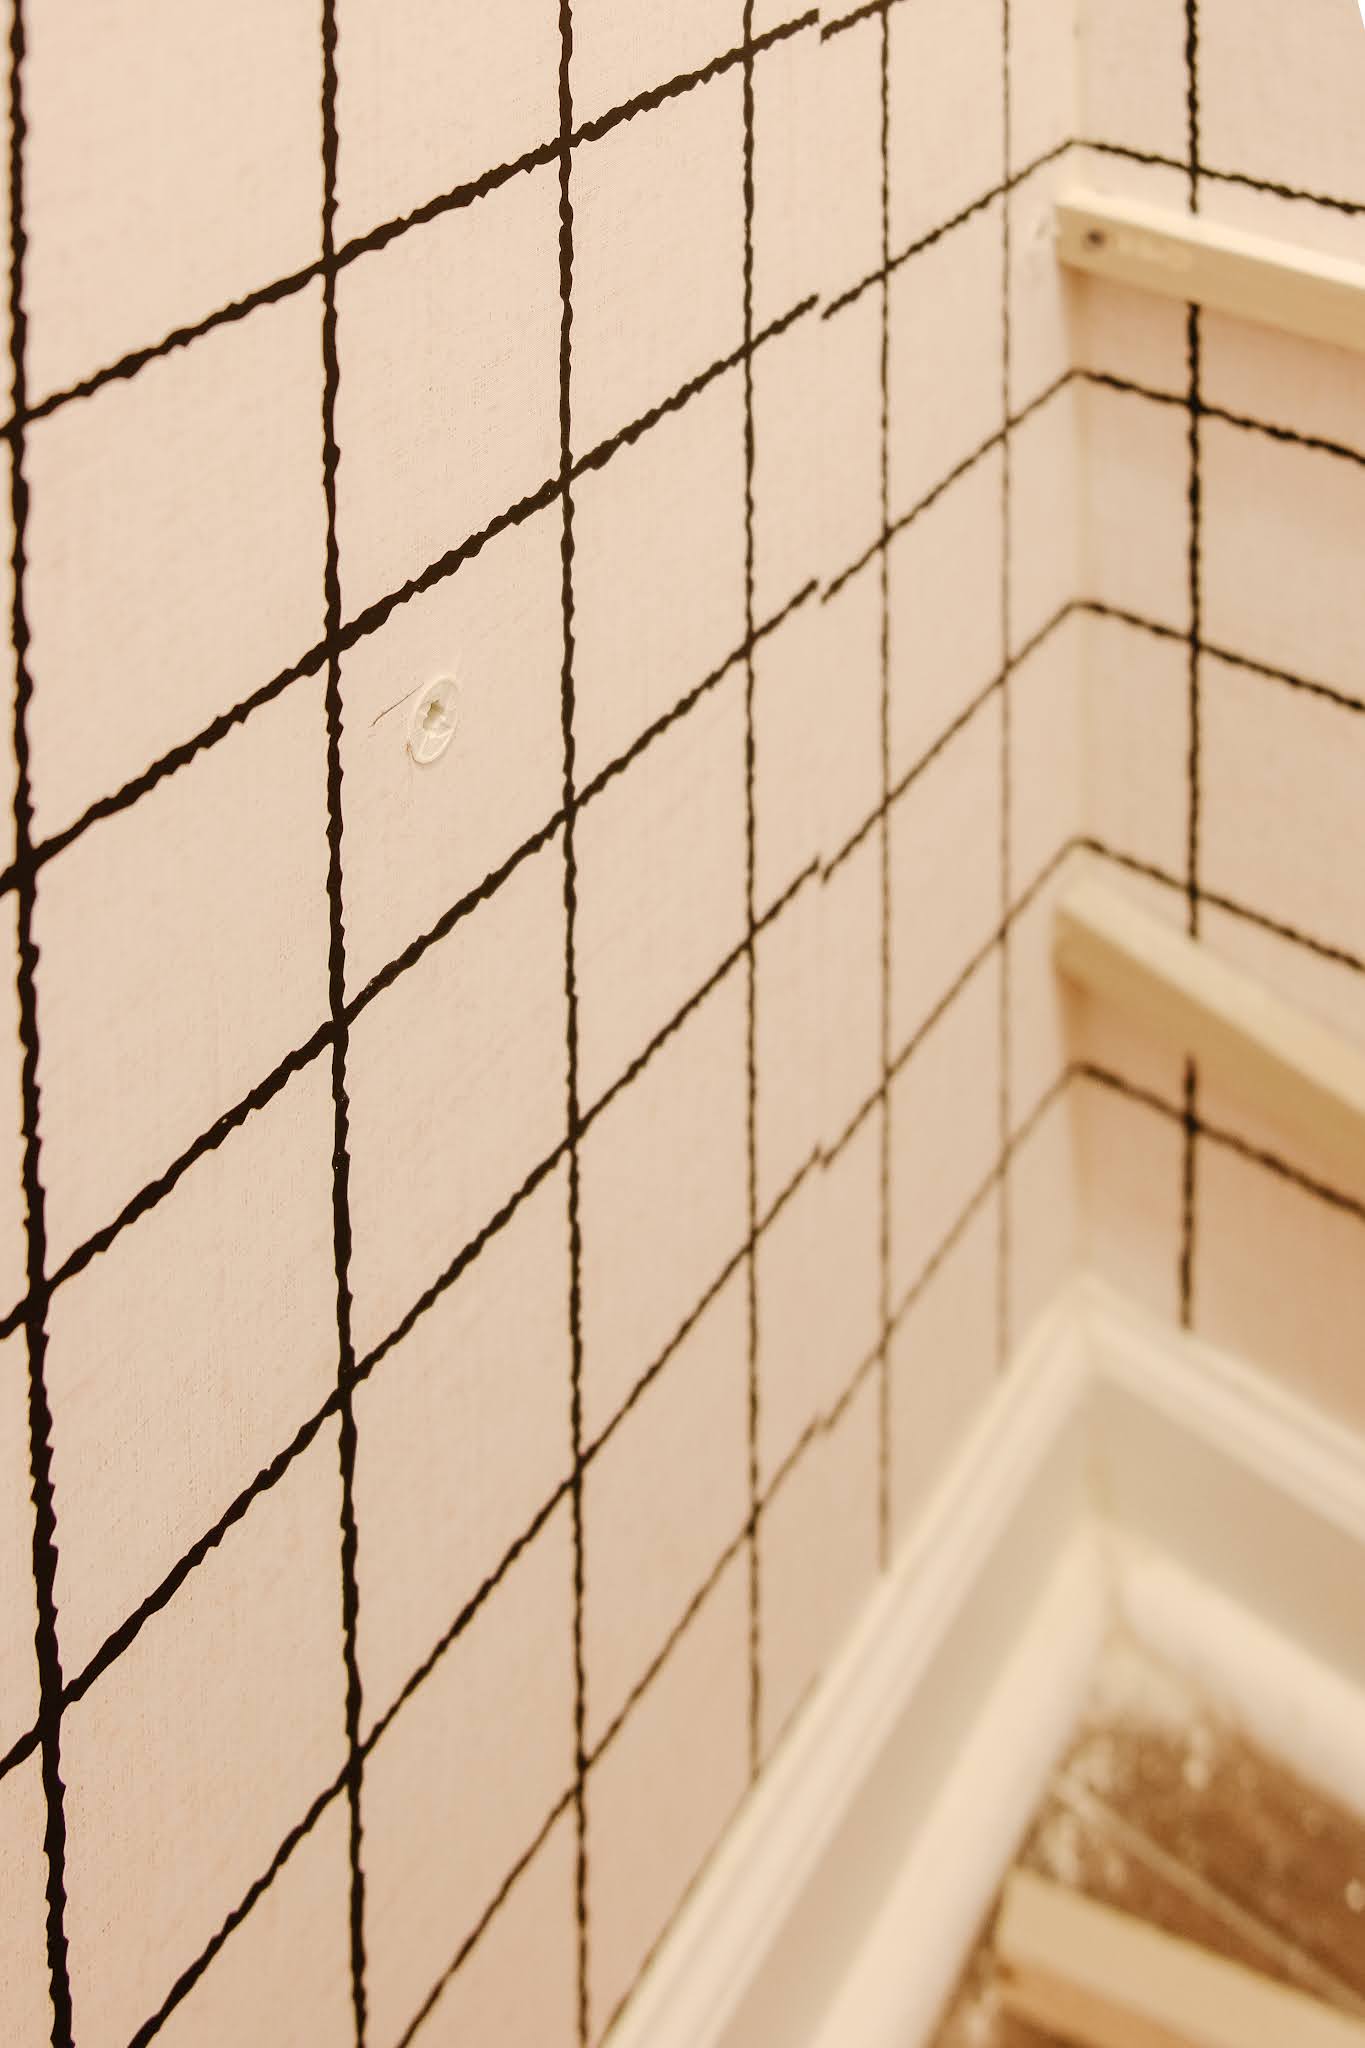
Now it's time to nail the braces into the wall. We located the studs, marked them, used the level to line up the brace, and drilled pilot holes. For the areas where there wasn't a stud we used these anchors which are much easier to use than the lightweight ones you tap in. You can see us in action on Instagram.
Next Joe drilled pocket holes into the shorter shelves in order to be able to attach them to the long shelves (to form the L).
Once all of the braces are on, it's time to screw the shelves onto them. Joe screwed the shelves on, drilling pilot holes first, in the 3 corners and then screwed the short shelves into the long shelves (using the predrilled pocket holes). Initially we were planning to use brackets here but then Joe called an audible and decided to use pocket holes. I'm so glad he did! It looks much cleaner without the brackets not to mention the cost- $90 for 6 of the style we were looking at.
[sorry there are no photos of these steps- it's a tiny closet full of awkward angles.]
Then I was up. I used a nail gun to nail the trim to the front of the MDF shelves. I used 3 nails per shelf. Then I filled it with wood filler and touched up with paint. I also used caulk where the two shelves met for a cleaner look. I will never use any other caulk or caulk gun again. They make the job so much easier!
I love how the trim piece levels up the shelving.
That's it!
Considerations for DIY Shelving in Corner Pantries
-You may want to measure the walls at the top and bottom to see if it gets more narrow. Ours did so the shelves at the bottom are slightly shorter than the shelves at the top. (It also explains why the wallpaper was a challenge- IYKYK!)
-Also, the side walls are at an angle so Joe shaved a bit off the shelves to account for that.
-Lastly, we attached all the braces first but then had to remove one in order to get the shelves in, at an angle. At first we thought were going to have to remove them all (how sad would that have been?!) so be aware of how much wiggle room you have to maneuver.
That's it! Please let us know if you have any questions! You can catch the initial pantry post here, the 'reveal' here (including before photos and organizational tips), and check out this highlight on instagram for video of the process.
Shop the Post (affiliate links include):


0 comments