That's a Wrap on the Kids' Budget-Friendly Bathroom Makeover
11:51 PM
You guys! I'm calling the bathroom complete. I can't wait to share it with you- it was a labor of love and learning. If you've ever tried to find inspiration for a 5x8 basic bathroom that doesn't include big expenses like new faucets, new flooring, tilework, etc, you know it sort of doesn't exist. But I'm a big fan of the phase 1 makeover and since the kids' bathroom is the one overnight guests use, I was motivated to give it a facelift on a budget. Read about our budget-friendly basic bathroom makeover-- why we made the choices we did, and ideas to improve your own bathroom.
Before we get into the details, here's what it looked like before. These images are terrible- I never remember to take "before" pictures so these are just what I had in my phone (forgive me?).
The first thing I did was to paint the vanity. This is hands down, the easiest way to update a bathroom or simply make it your own. Make sure to take the time to do it right- sand and prime first! Alternatively, you could use a deglosser but I lightly sanded ours and then used Zinsser primer- the one I swear by.
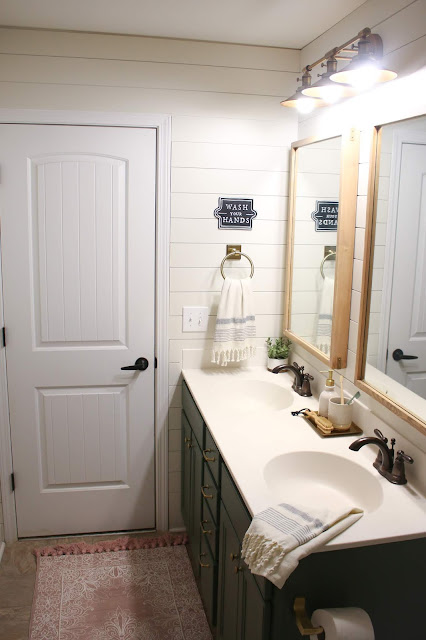
A view of this wall from the door:
It's really challenging to get a good photo of the art because of the small space and the glare. This is the best I could do. Suffice it to say I LOVE it and I cannot believe I've never put framed art in a bathroom before. I highly suggest it. ;) It's printable so if steam gets to it, I can replace it but so far, so good.
You should've seen me wedged between the tub and the sink using all the tricks I could muster to get this straight-on shot. But I had to! The art has me all heart eyes.
You guys. I could not love this towel ring more. I tried to not buy it. I even ordered this one. But in the end, it drew me back.
The vanity had water damage so painting it was a must.
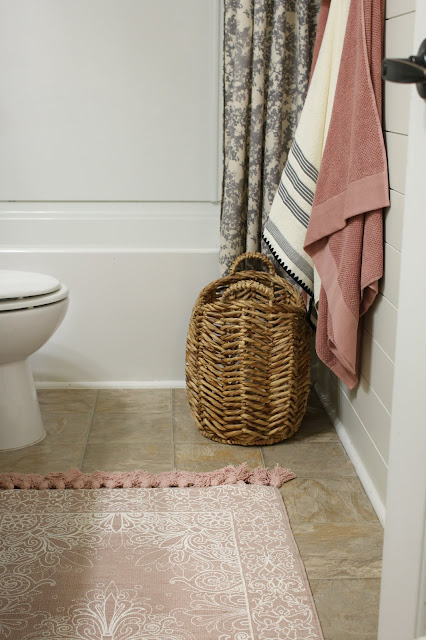
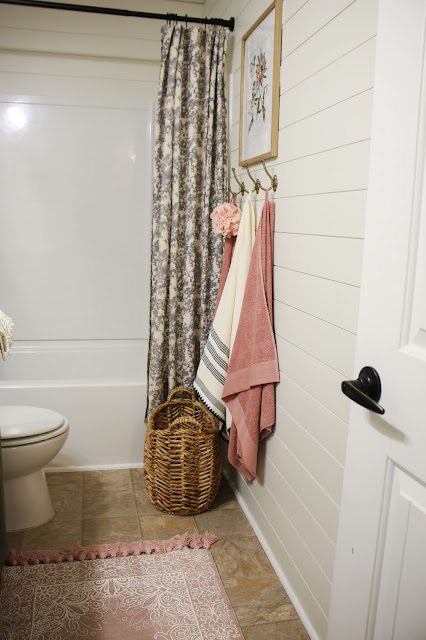
Hot tip: If you don't have room for a hamper in your bathroom, try a medium-sized basket. Expecting my kids to remember to pick their clothes up off the floor, was unrealistic apparently [note the sarcastic tone]. I have LOVED that they can just drop their clothes in this basket- even if it needs to be emptied more often than a traditional hamper.
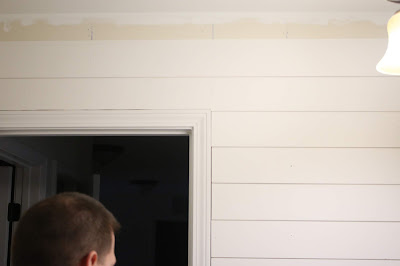
Next Joe installed the shiplap. Adding an inexpensive wall treatment is another way to add character to a boring or dated bathroom. Whether it's peel and stick wallpaper or tile, or paneling, there are non-tile options out there that don't require a lot of expertise.
At this point, I started searching for tile. But then I realized that it didn't make sense to add something expensive and permanent to this 'phase 1' makeover. Eventually, we'd love to replace the vanity, but that wouldn't be possible if we tiled up to the existing vanity. I wrote about it here and discussed it in my stories too but the overall lesson is not to choose a major fixture to match things you don't love (in this case the painted vanity which won't last forever and the cultured marble countertop).
While you might skip flooring for a phase 1 makeover, replacing the basic builder mirror and the standard light fixture is another budget-friendly way to makeover a basic bathroom. There's a long story on both of these choices (labor of learning, people.) which I won't rehash, because I discussed it here. I ended up swapping the adorable mirrors we had for these because the kids couldn't really reach them/see in them. Plus the room was getting kind of brass-heavy.
I wrote all about how I refinished the mirrors, here. The light fixture isn't the best style for the space but I missed the return period. oops. If the finish wasn't so good I might have had to cut my losses and choose another but I LOVE the finish. I also love that each individual light can be switched on/off. Here's a closeup.
Once we painted the vanity, added a wall treatment, replaced the mirrors, and replaced the light fixture it was time to style it (why are we all too cool to say 'decorate'?)! Decorating, er, styling is my favorite part. It's low key, low pressure, and it's easy to change your mind. ha. Add personality with your styling choices- rug, shower curtain, towel hooks, art, etc! And with that, I'll let the photos do the talking. Well, most of the talking.
A close up because I just love these little sweet hooks.
Hot tip: If you have a towel bar in your kids' bathroom and you're constantly finding towels on the floor, try hooks! I'm amazed at how less often I find their towels on the bathroom floor. Now, their bedroom is another story...
Switching to the other side of this wall,
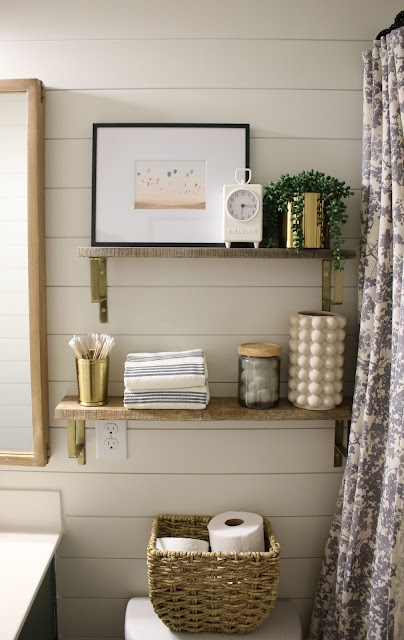
shelves (similar shelf + bracket) | bubble vase | hand towels | toothbrush holder | wooden q-tips | clock | frame | art | shower curtain
The shelves were a lucky Ross find, but these are similar (and deeper which I love). Real Talk: About that bottom shelf... I feel like it needs some work. Like something is missing. But I didn't want to wait 6 more months for that perfect piece before sharing. In the meantime, I'm probably gonna steal that bubble vase. Because it's awesome.
This, however, is worthy of a close-up. The toothbrush holder is so cute, nonbreakable, and perfect to hold these long q-tips. How crazy is it that pretty q-tips exist?
A few more full room shots (as best as I could with my 18-55 lens!) and then some before and afters!
I really wanted a vintage runner but the thought of dropping $200 on something that will have toothpaste ground into it in no time just didn't excite me. ;) This pretty rug is only $35 and I bet it could survive the wash!
Now for those before and afters we all love!
I promise I'm not trying to make the 'before' look even worse by using a crappy photo. I'm the worst at remembering to take pictures of a sad and boring space before I get started but that top image was on my phone. However, it should be a lesson in how important light bulbs are! The top image of the collage below is still pretty sad but these bright bulbs made all the difference!
What a huge difference! While it's not perfect (of course I'd love tile, a new vanity, new flooring, the whole shebang!), it's such an improvement from where it started! Now I need to decide...will I paint the floor? Paint the door? Swap the light fixture after I've had it long enough time to justify to Joe?? Or do I bask in its prettiness and just let it be?
Shop the post! (Affiliate links included and throughout post).
Any questions? Happy to answer them!










5 comments
I love your makeover. Just FYI, the “pretty Q-tips” are cotton tip applicators. We use those in dentistry to transfer topical anesthesia to your gums.
ReplyDeleteI love the idea of a “phase 1” makeover! I put off doing things to my home because I kept thinking I have to do it all at once but this proves you can really transform a space on a budget! The bathroom looks beautiful! Thank you for the inspiration (:
ReplyDeleteThank you! Phase 1 is so helpful and sometimes makes phase 2 even better as you live with it for a bit!
DeleteThank you for the most “real” kids bathroom makeover I have seen in a long time. Definitely has left me inspired to improve on our own. Thank you!
ReplyDeleteaw thanks! so glad!
Delete