How To Create A Large Vintage Modern Gallery Wall
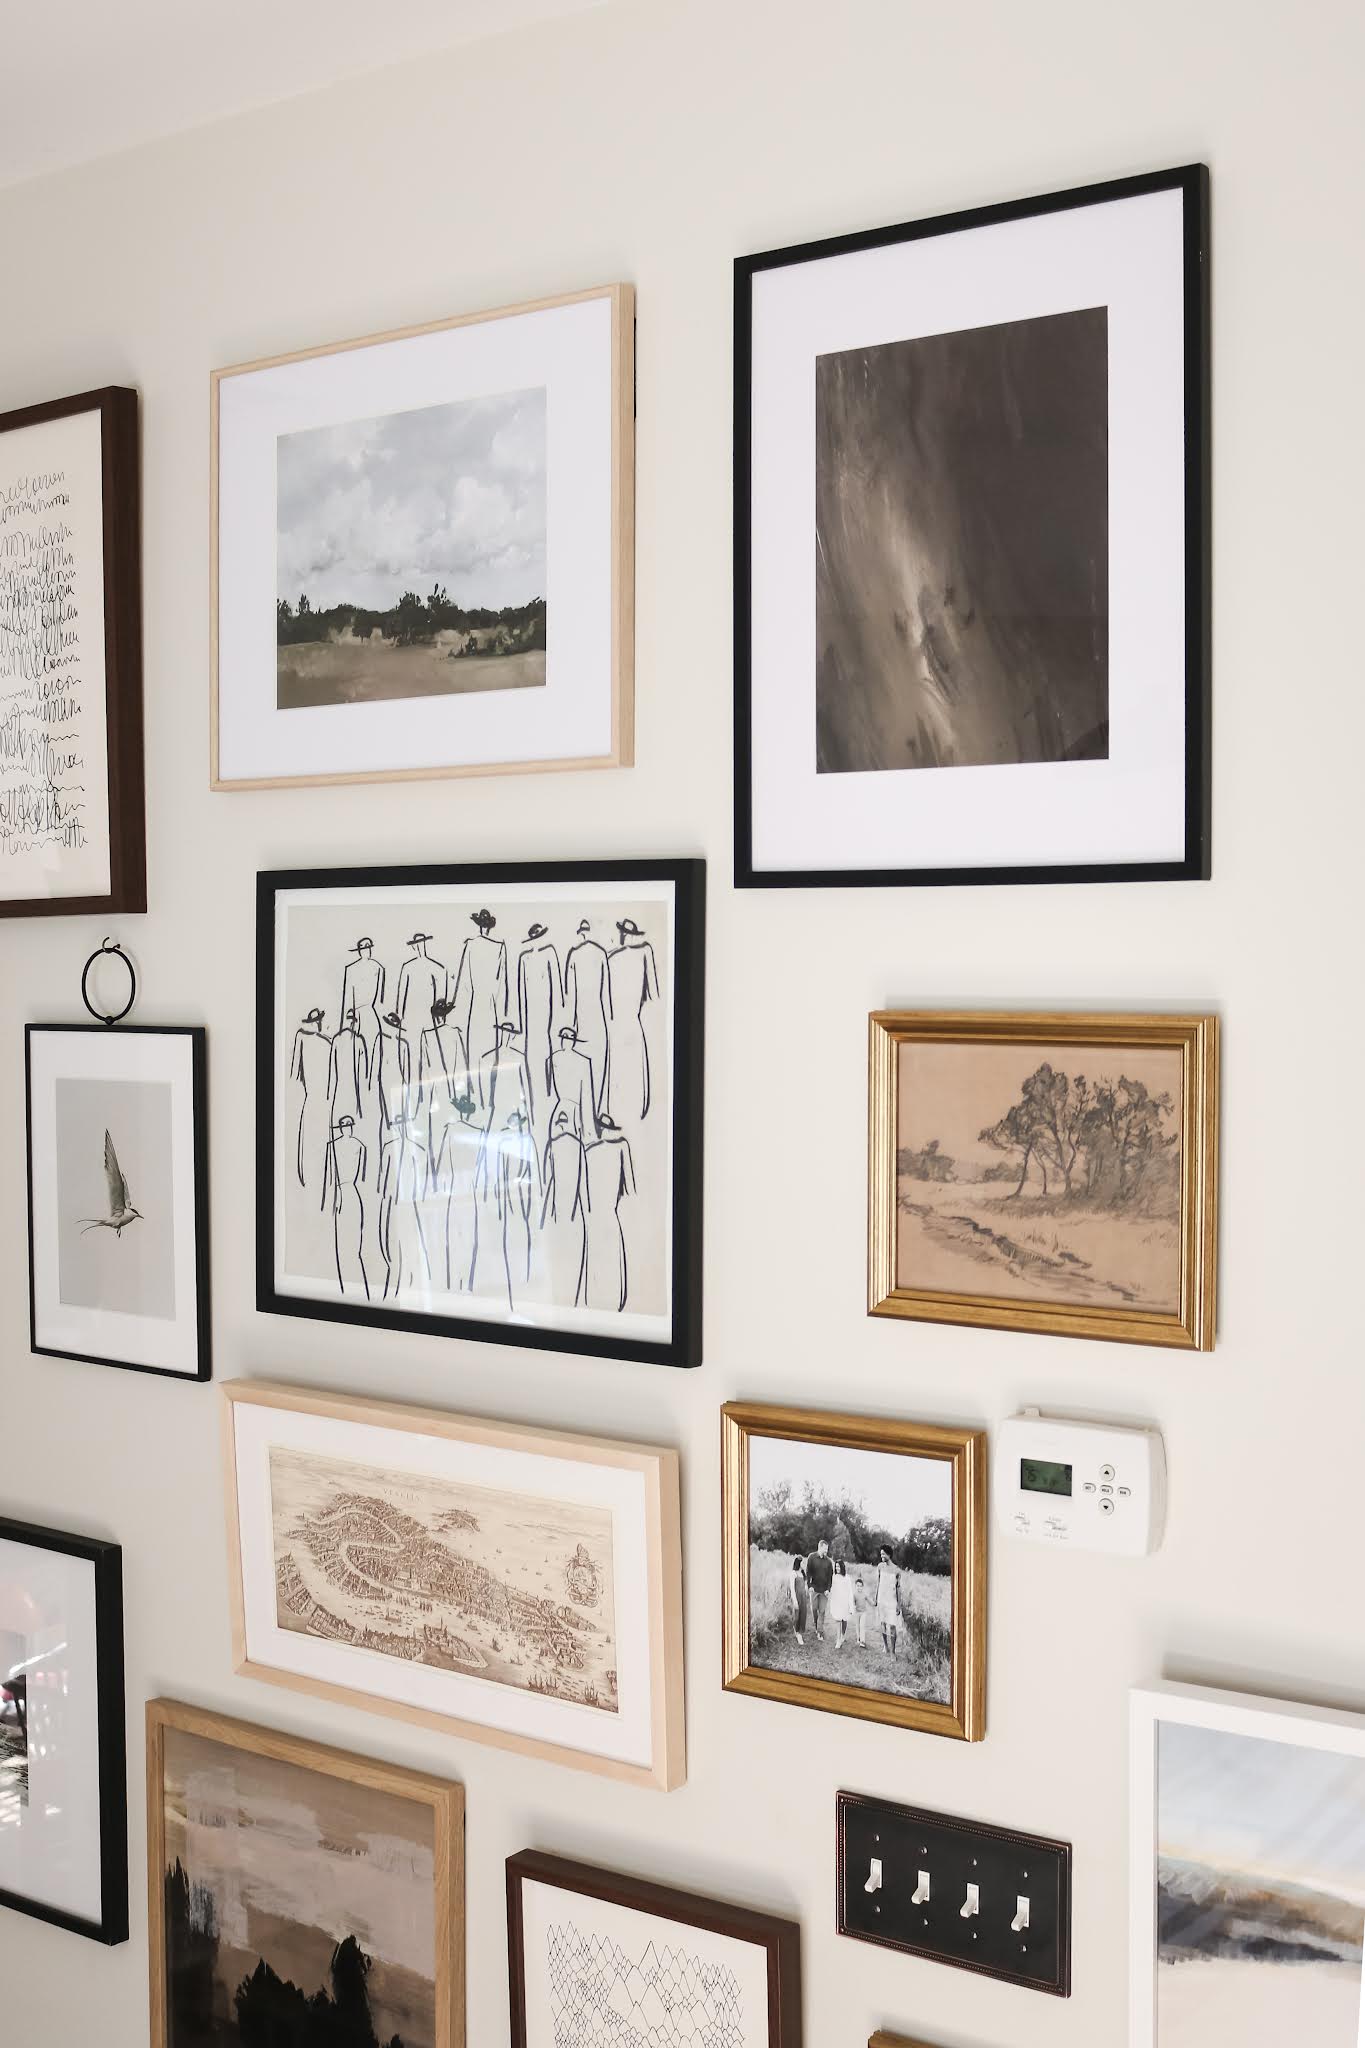
9:23 AMWhen I moved our family photo grid to the open wall in the living room, I hinted that it might not stay there. I knew even then that the wall needed something BIG- something special. We considered a few options such as a wall treatment (maybe paneling like here?), a large art piece like this, wallpaper... but I kept coming back to a floor to ceiling gallery wall. While I pulled back slightly from my initial vision- I went more big and organic gallery wall- it totally makes a statement and is just what this room needed. It was ridiculously fulfilling to choose a variety of art that spoke to us but keeping it cohesive took some finesse. So today I'm sharing some tips to on how to create a large and in charge gallery wall, while keeping it cohesive. There are also a couple of coupon codes at the bottom plus sources.
Focus on frames even before you focus on art. I tend to collect frames over time but it's easy enough to shop one store's selection.
Tip 2: Start a pin board with art that speaks to you
Choosing the right pieces can be daunting! I just got a question over on Instagram that prompted me to expand this tip! Collect any piece you like. Don't overthink it and don't limit yourself to a certain number. Once you have a board full of art pieces you like, then you can start to see which pieces work well together! Later, when you're plugging art into your frames, you'll need a variety of sizes/styles to choose from so don't narrow it all the way down until you have your frames (sizes and orientation) nailed down! You can see my gallery wall board here and my art board here.
Tip 3: Keep things interesting with a variety of art
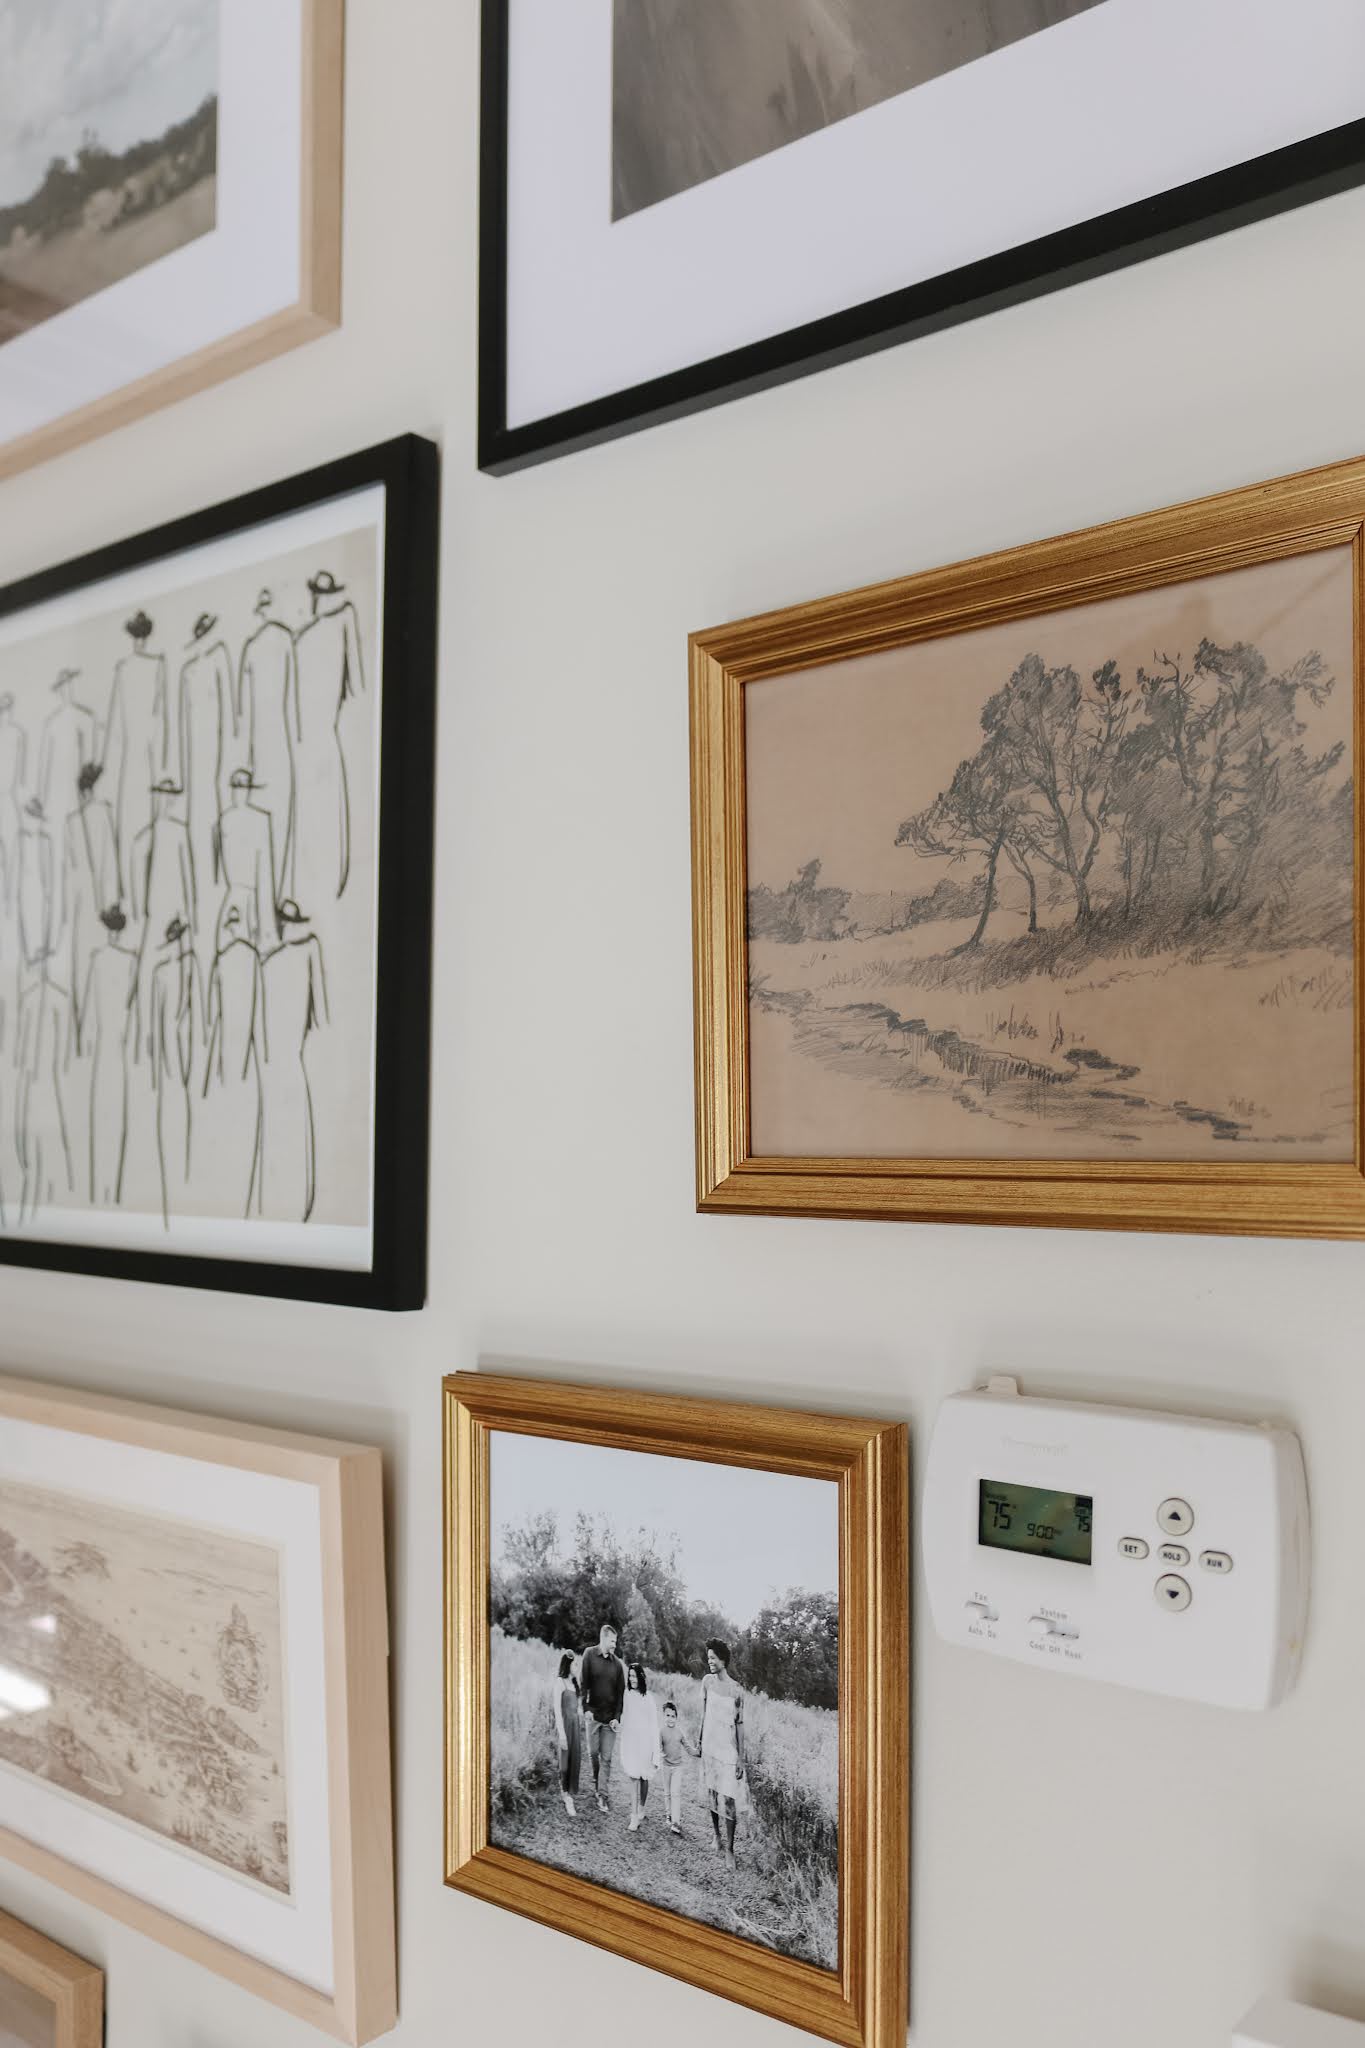
Certainly a wall full of portraits would be super cool. And vintage landscape gallery walls are trending. But don't be afraid to mix it up. Our gallery wall includes a combination of vintage, abstract, and photography. We even squeezed in a sentimental piece we picked up on our trip to Italy forever years ago. (Take me back!)
Tip 4: Use a program to visualize all of your art choices together
I used excel to see all of my pieces together. But PowerPoint, Canva, Pages, etc. would work just as well. I didn't necessarily use every piece I added to the board, but it helped to see how things paired with one another, figure out what other pieces I might need, and begin arranging virtually.
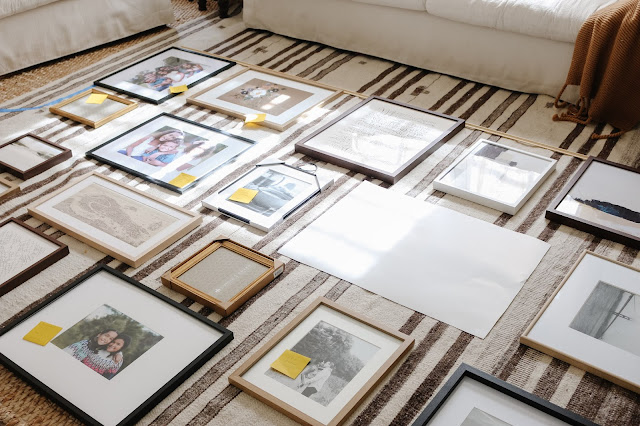
Figure out how large your gallery wall space is and set up that amount of space on the floor- you can use a tape measure, string, etc. Then start arranging your frames in the allotted space. The most surefire way to make sure it translates exactly is to then trace the pieces onto kraft paper and tape them to the wall but TBH I didn't have it in me to trace 30 frames. I did end up rearranging after the fact as it didn't translate exactly (I'm blaming the light switch/thermostat and half wall) but I think it still beat doing all that tracing! For smaller gallery walls, I definitely recommend the kraft paper method (and here's an example from way back in the day- ignore the cringy wall or don't and just admire how much I've grown. ha.).
Tip 6: Repeat colors throughout
When I came across this piece I loved it, but it felt random. Later, I stumbled across this one with similar tones to help tie in the former. Similarly, you'll notice repeating colors like light blue, brown, off white, etc. Repetition is key to keep it cohesive.
Tip 7: Choose your dominant color scheme
Can you tell what mine is? I mostly used black, brown, white, and other warm tones but then sprinkled in lighter and brighter tones (peach! cobalt blue!) for interest.
Tip 8: Repeat frame colors/tones.
Similar to tip 6, repeating your frame colors will help the gallery wall feel cohesive. I made sure to repeat every frame at least once. And other than the gold frames, distributed them along the wall.
Tip 9: Use black!
Black keeps the eye moving and adds a feel of sophistication.
I think I used every hanging trick I know for this wall. Make sure you have a pencil, a ruler, painters tape, a short level and a longer one, a variety of nails, command strips, and a hammer handy. I use command strips whenever possible and my tip is this: FOLLOW THE INSTRUCTIONS- all of them!
The tape trick: For frames with 2 hangers on the back I use the tape trick. Place a piece of painter's tape on the frame (pictured). Poke a hold where the nail would need to go- ie on the top of the triangle. Measure how far the tape is from the top of the frame (say it's 3 inches), then place your tape on the wall 3 inches below where you want the top of your frame. Then nail where your holes are! It's so much easier than taking a bunch of measurements and easy to adjust if it's slightly off.
Bonus Tip: Relax and enjoy the process
At the end of the day, it's art. It's not supposed to be perfect and it certainly isn't supposed to mirror anyone else's space/arrangement. While the tips above will help it feel balanced and dare I say 'pleasing to the eye,' as long as YOU love it, that's really all that matters!
I hope you try a big, fat gallery wall somewhere because it truly is one of the best ways to infuse your space with personality and adds such charm.
Coupon Codes:
Juniper Print Shop- Sign up for emails to get 10% your first order.
Minted- use code PRETTYREALBLOGFRAMES for 20% off
Vintage Supply- 15% off your first order when you subscribe
Collection Prints- 15% off your first order when you subscribe
Sources
(Minted art was gifted. Affiliate links included).
Moving Mountains 16x20
History Repeats 11x14
Nature You and Me 16x20
Pasture 11x14
Shadow 16x20 matted to an 11x14 (planning to swap to an 11x14)
Crowd 16x20
Trees in the field 8x10
Trails 16x20
Misty Lake 8x10
Clothesline 11x14
Swimmers, 16x20
Map of Venice print- souvenir, framed by Simply Framed
Sahara, 16x20
Nature, You and Me II 11x14
A Winter's Walk 16x16


6 comments
You did such a good job! This is beautiful!
ReplyDeletethank you!
DeleteYou did such a good job! This is beautiful!
ReplyDeleteLove this gallery wall. It is so unique and the wall looks so much bigger now.
ReplyDeleteThank you!
DeleteBeautiful
ReplyDelete