A Peek at the First Addition to Genevieve's Pre-teen Room
4:32 PMThank you Serena & Lily for sponsoring this post. All opinions are mine.
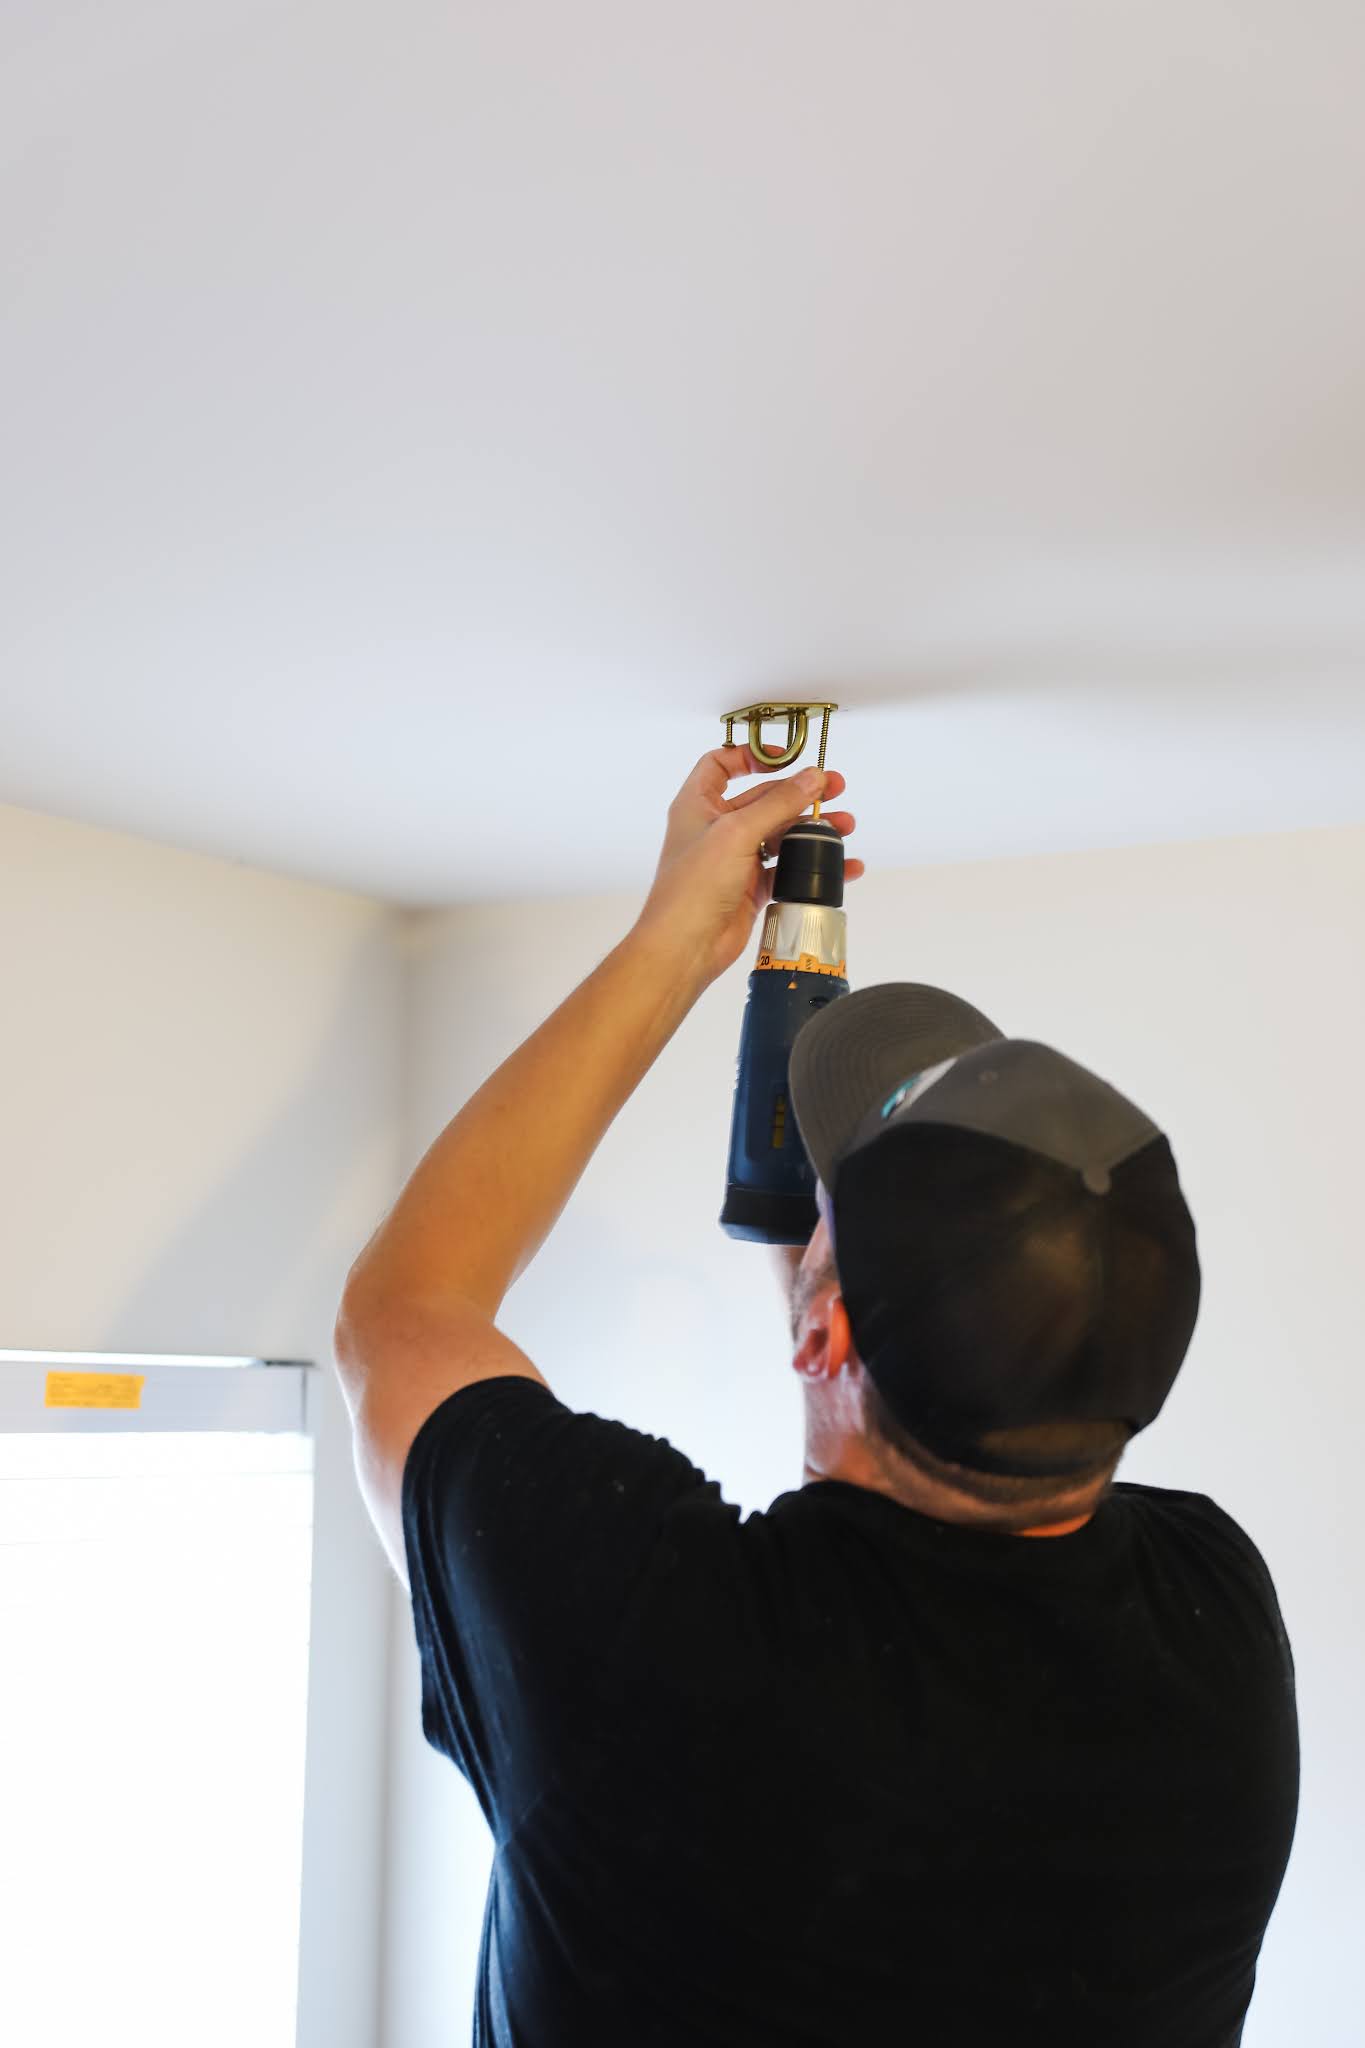
When Genevieve said she wanted her own room, I can't say I was surprised. She and her sister are very close but she's inching (actually more like barreling) toward the teen years and homegirl needs her space. I adore designing kid spaces so we immediately started dreaming about her new room. Her very first request was for a hanging chair and let's just say that was the easiest 'compromise' I'll probably ever make with my almost teenage daughter. While we are in the very beginning stages of the room, the Hanging Rattan Chair from Serena & Lily will absolutely set the tone! It's playful, well made, and cozy- especially when paired with the linen cushion which I have to say is so much prettier and substantial in person than it looks on the site!
How Do You Even Begin Designing a Room?
I get asked this question often and I always give the advice to find something that inspires you to begin the design process. Oftentimes, it's the rug but it can be anything, really. The cozy/playful/iconic style of this chair symbolizes everything we want for the room. We want Genevieve's room to be able to grow with her. Our goal is a playful (but not childish), cozy and relaxed room with a modern boho feel. We both love clean lines and mama loves texture. As for the cozy element, the Hanging Rattan Chair description states that it "cradles you, while you float." Sold! I'm just happy that Genevieve is in school all day so I can sneak in some cradling of my own. haha. It's just the perfect starting point for the room.
The last thing I'll mention is Serena & Lily's new feature of sorting by ship date. My goal is to have this room completed by Genevieve's birthday as a gift to her so I love that I could find a hanging chair that will get here in time. These days, lead times are crazy so planning ahead and being able to narrow down options before you fall in love with a piece is really helpful.


0 comments