How To Paint a Built-In Hall Tree
8:26 PMKeep reading for a tutorial on how to paint a built-in hall tree; painting a built-in piece (much like cabinetry) can be tricky. You want to take your time, do it right, and make sure you have the right products to get the job done. Here is everything I used:
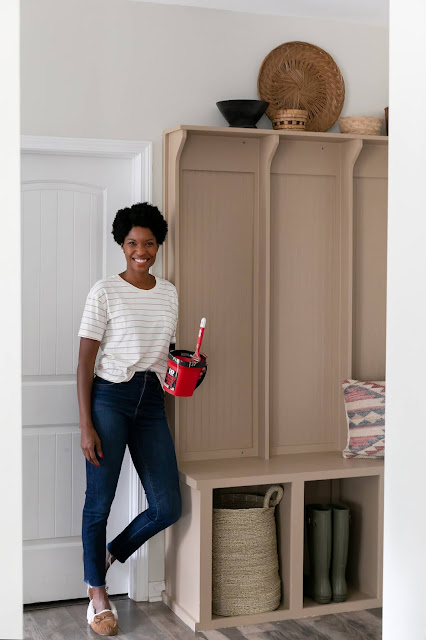
Handy Paint Pail (with liner)- This little pail is a must-have for painting a hall tree or cabinetry in general (think bathroom vanity, etc). You're constantly up and down, swapping between a roller and paintbrushes and it's helpful to have an ergonomic pail that you can hold the entire time (and not drop it thanks to the adjustable handle). Plus it has a magnet on it for your brush when you need to switch to a roller.
Primer- I know it's tempting but don't skip it! It's especially important with a piece that gets a lot of use.
Paint- Choose an enamel paint and go with the toughest formula. It will cost a bit more but it will be worth it! The first time I painted it, I chose a basic paint, and well, here we are. This time I used this in Craftsman Brown.
Sanding Block- In addition to using "liquid sandpaper" I lightly sanded it, per guidance from the paint store employee.
Liquid Sandpaper- Since the hall tree had a coat of polyurethane on it, I needed to make sure it was stripped down as much as possible.
Paint Tray (and liner)- I used the handy paint tray which is so useful- it also has a magnet on it for your brush and it holds a gallon of paint! I love that it's sturdy and has handles on both ends.
2 inch angled brush. The cutting in takes a while but a good brush helps!
Wood filler (if you're swapping hardware)
Step by Step Instructions for Painting a Hall Tree
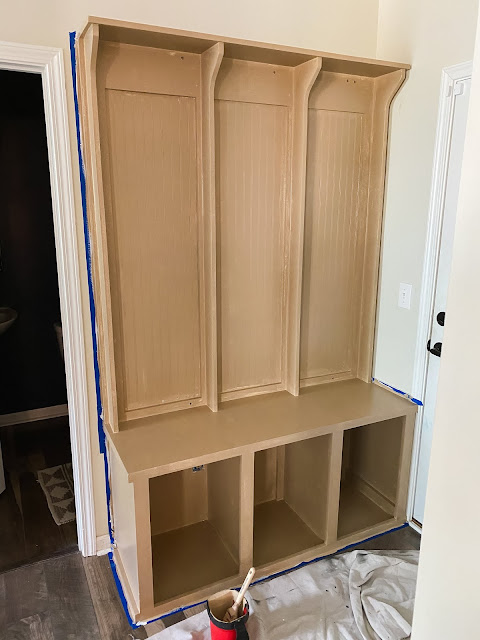
First, remove the hardware and clean your built-in furniture. I vacuumed out the cubbies, dusted, and wiped everything down with soap and warm water.
f you're replacing your hardware, fill the holes with wood filler and sand (follow instructions on the wood filler for timing).
Next, lightly sand the surface.
Then apply the liquid sandpaper according to the directions.
While it dries, tape off the built-in (unless you have a super steady hand. I don't!).
Now you're ready to prime! I know it's tempting to skip this step, but don't!
Now comes the fun- it's painting time! Start with the top so you can stand on the base and work your way down. Roll first and then grab the handy paint pail for cutting.
Wait the appropriate time before painting your 2nd coat. Follow the instructions on the paint can. The employee at the paint store warned me against rushing it. He said the paint could just slide off. Consider me scared straight. ha. I waited for the full 4 hours!
Do the 2nd coat of rolling and cutting. A few hours later, check for any missed spots. I caught a few and touched them up.
Tada! You're finished! I don't plan to do a top coat on the tree this time; it didn't help much last time and I took better care to sand, degloss, prime, and use high-quality paint. This is almost the exact same process I used for our bathroom vanity and it's held up beautifully.
Have fun and good luck! If you follow this tutorial, tag me on Instagram- I'd love to see it! And if you're a visual learner, I have lots of video of the process in my "entry refresh" highlight!
You can find Handy Paint Products here! They made the job so much easier.


0 comments