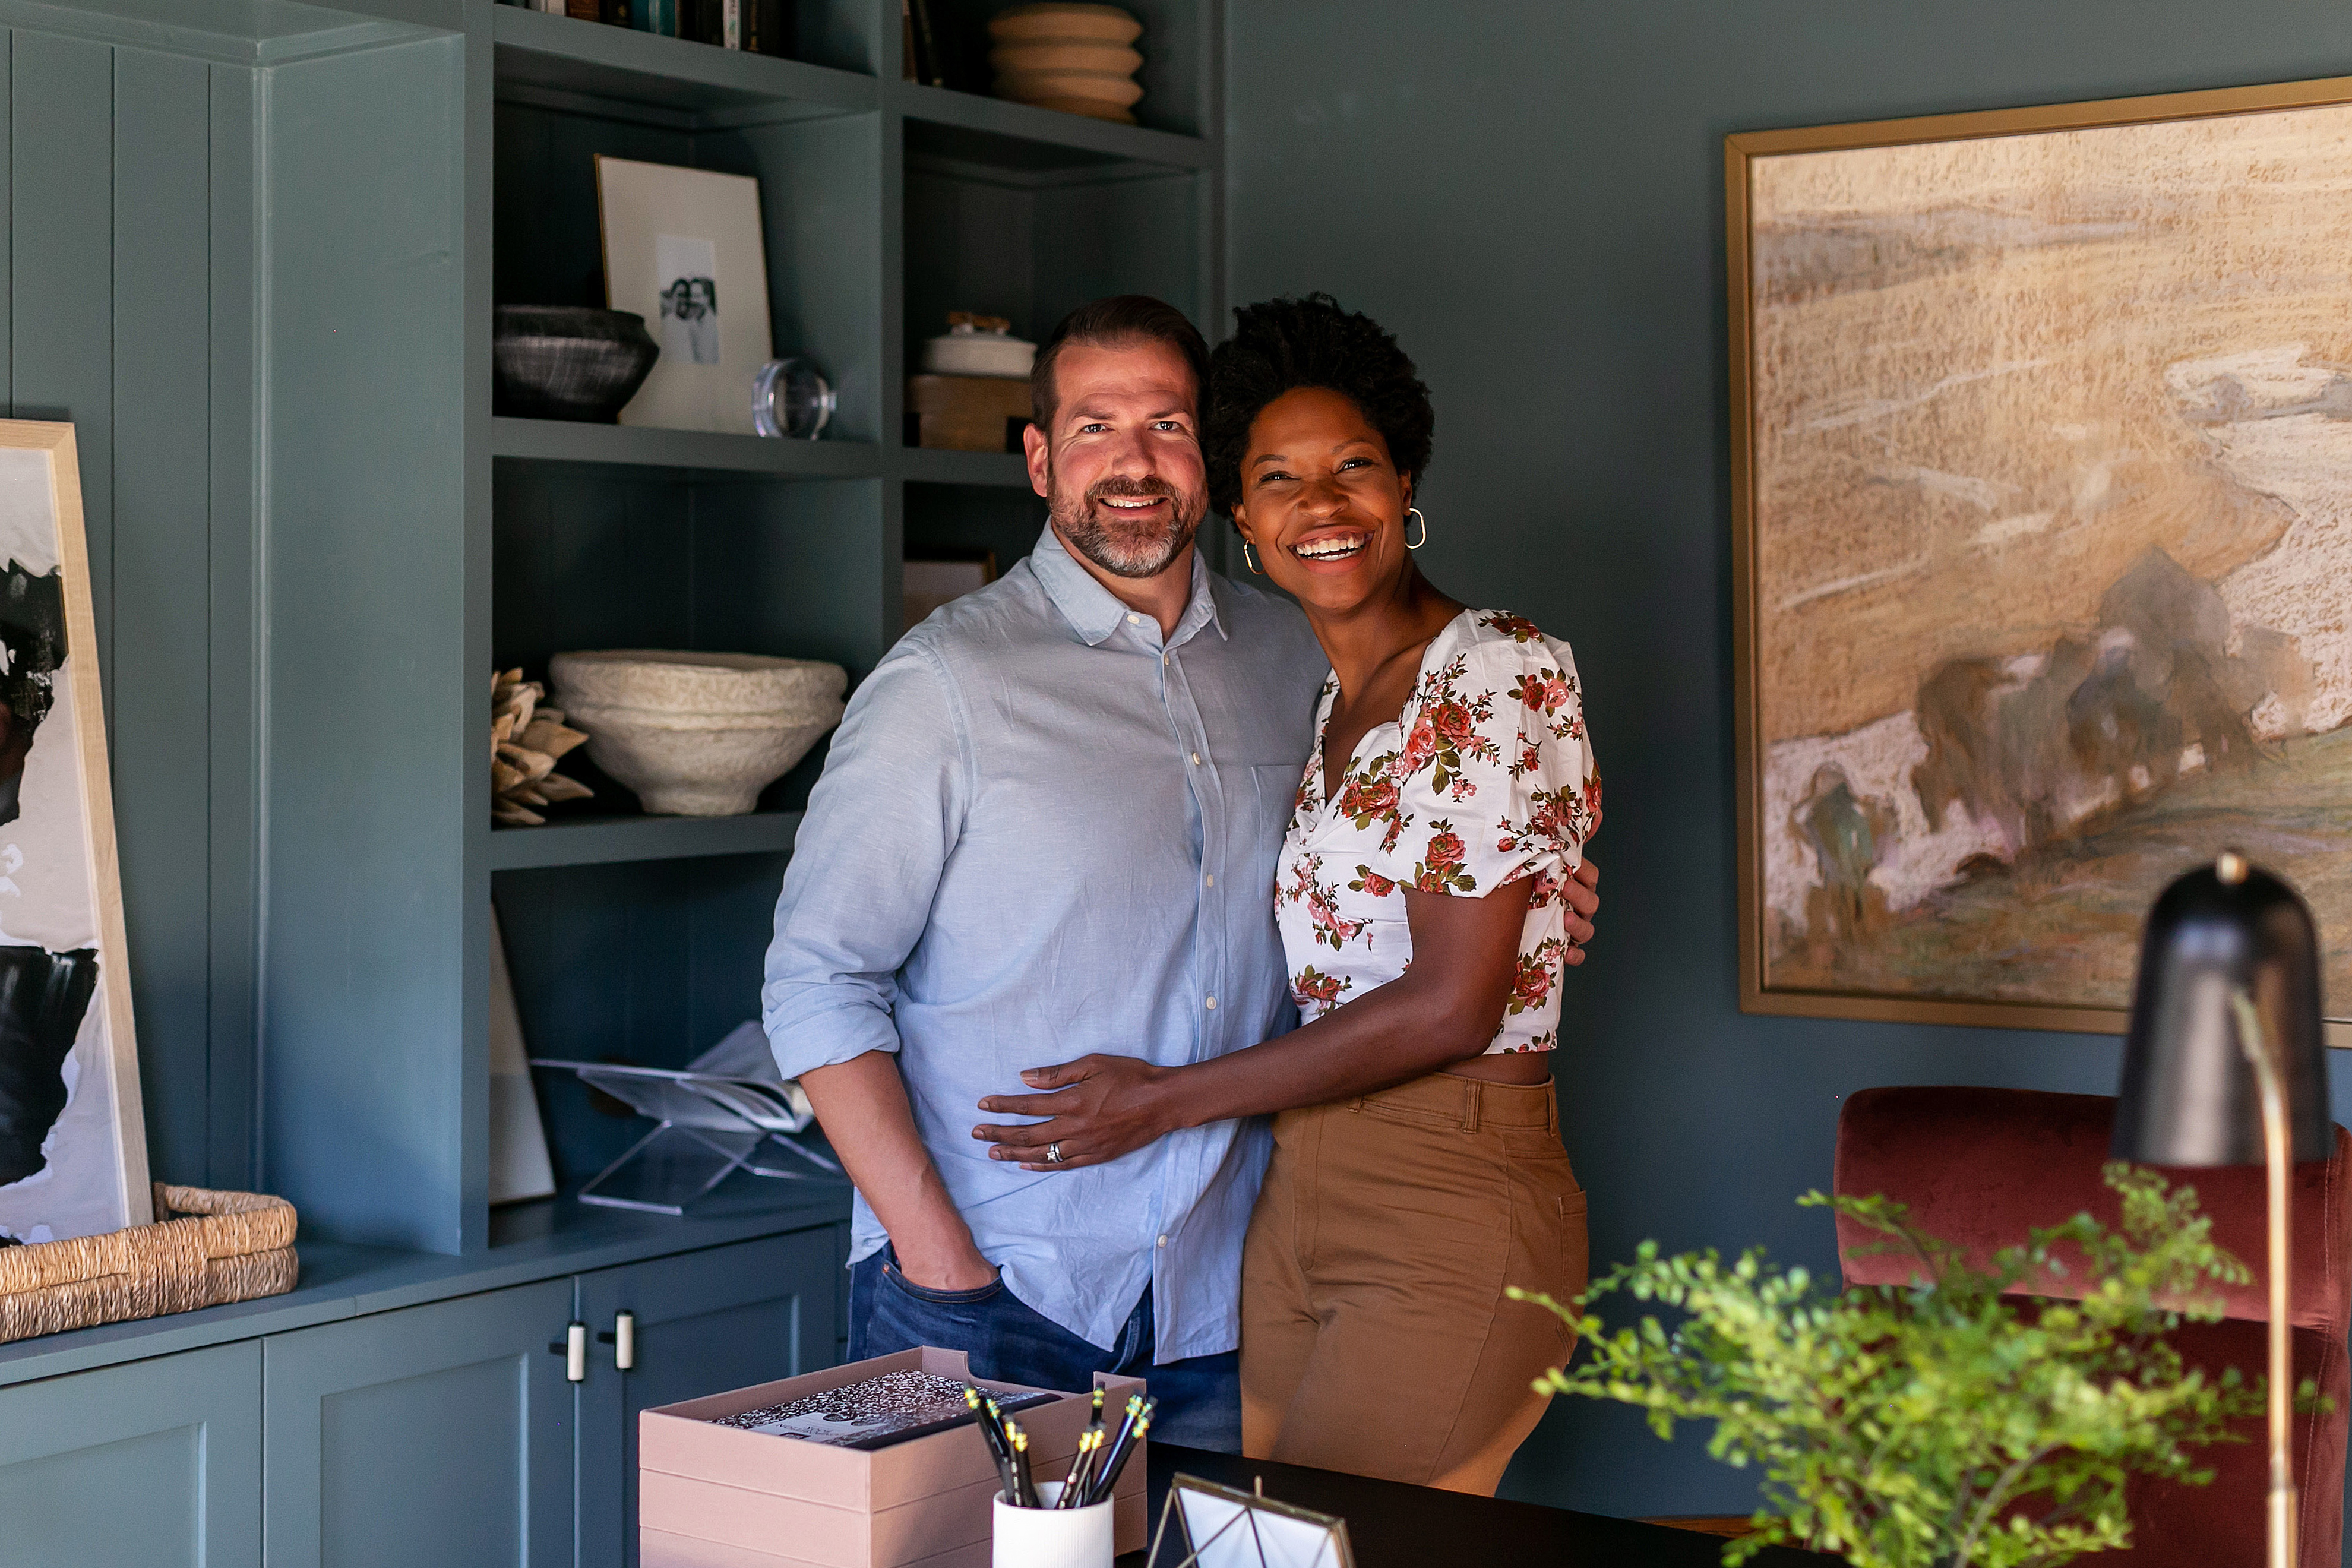
Guys! We did it! We made it to week 8 of the One Room Challenge™! This room includes the biggest DIY Joe and I have ever tackled, a smaller DIY I love, tons of work, aha moments (Wait! The built-ins NEED to be beige!), unique finds from friends (this console!), and so many more fun/hard/crazy moments that brought us to a completely finished family room. It started as neglected, lacking storage and style, and now? It's our favorite room in the house. As the room we spend the most time in as a family, it sure deserved the attention we lavished on it over these past 8 weeks. There were times I didn't think we'd make it- I feel like I painted for like 1000 hours, Joe was running up to the loft during work breaks, the kids were feeding themselves... you get the idea. But here we are and I couldn't be happier with the result. I'm not going to chat much because I know you're here for the photos of our completely renovated family room! So let's get into it!
Guys. ONE WEEK until the reveal. I can hardly believe it. Somehow we turned a corner last week and are feeling ready to wrap this thing up! This week we thought we'd walk you through how we built the shelves. I'm using "we" loosely although I did put in hours of sweat equity toward the end- but more on that later. This won't be a tutorial per se, but we'll share the tutorials we referenced, our steps, and things we wish we'd done differently. Hopefully if you're in the research phase of built-in options (hire it out? Buy ready made? DIY it?), this post will help! Also there's a tiny sneak peek of the styled shelves at the end! So here goes...
Thank you Handy Paint for sponsoring this post. As always, all opinions are mine.
It's week 6 of the One Room Challenge™ and today I'm bringing you a fun tutorial for how to make a fluted side table. This is one of those trending DIYs that I just had to get out of my system. And bonus, I'm also sharing how I stain wood with craft paint. Once you do it this way, you'll never want to go back! Ever since I stained our DIY framed mirror with craft paint, I've been obsessed with the method and have fielded lots of questions in my DMs so now I'll have it in one place for you. This DIY takes a little time but is actually fun and easy to do (unlike caulking. IYKYK), so let's get to it- here's how to make a DIY fluted table in a beautiful oak-like finish and I'm using my favorite Handy Paint painting products which always help a project go more smoothly.
It's week 4 of the One Room Challenge ™ and let's recap. This year I'm a featured designer (pinch me!) and the pressure is on! We have (had!) eight weeks to completely transform a room. You can see in this post we decided to tackle our neglected loft family room. Our goal was to add storage and family-friendly style! Ok- back to this week...In some ways, time is FLYING. In other ways, it's crawling by as I check FedEx tracking numbers ad nauseam. Guys, I'm pretty sure I'm gonna make it but man is it gonna be a nail-biter! I don't have a tutorial for you this week, but I thought I'd share our progress and pain points instead. Kind of a check-in. So here goes:
It's week 3 of the One Room Challenge and the shiplap is complete. I repeat the Vertical Paneling in the Family Room is complete. Phew. There's so much left to do but adding a wall treatment and hiding cords (something that's been on our list for like ever) is a big to-do marked off. We've installed shiplap twice- here and here- but never shared a step-by-step tutorial for installing vertical paneling so keep reading for that plus a peek at what's hidden behind ours. I'll also add that this is a great beginner project if it's just one wall- there's not a lot of math or woodworking involved. You can do it!
Well that went by fast! It's week 2 of the One Room Challenge™! You can read all about our plans to create a fun and cozy family room and its current neglected state, here. This week, I'm sharing our plans and progress on the DIY media built-ins, inspiration for the project, what we purchased to make it happen, and step 1: assembling the cabinets. If you'd love a custom built-in with all the storage and style it adds, but don't have the thousands it takes to hire it out, this one's for you!
Agh! It's One Room Challenge™, week 1. Last year we transformed our office nook as a guest participant; this year? I am a featured designer! Say what?! I've been a busy bee gaining inspiration, sourcing furnishings, repeatedly editing my mood board, and finally feeling like I'm getting the vision for this project. Here's a little backstory on the room we plan to tackle- our 2nd-floor family room we call 'the loft.' Others might call it a bonus room.
You guys! We made it! We've arrived at the end of the One Room Challenge! Air hugs and jazz hands all around! What an eventful 8 weeks (in more ways than one)! I'm excited to show you the final result of the past 8 weeks- and really 8 months since we first began discussing this project. Joe and I knew we needed a place for me to work, a place for a family computer, and though I hope not (please please please), a place for the kids to 'do school,' if remote learning continues in the fall. We decided that the blank wall in the kitchen would be a great place for a DIY office nook. My goals for the office nook included:
I can't believe it's almost time for the final One Room Challenge reveal! Agh! We still have a few things to do and it's down to the wire! If you're new, here's what I've shared so far:
Welcome to Week 6 of the One Room Challenge! Week 5 was canceled (you can read about that here)* but I'm excited to share the next (and a big!) step in the process- making the wall shelves! If you're new, check out weeks 1, 2, 3, and 4 to catch up on our Office Nook progress! The biggest challenge we faced with our DIY shelves was finding wood (white oak in this case) wide enough. My ideal width was 10-12" wide. To solve that problem, we decided to join two narrow boards together to make one shelf with a 10 1/2 inch depth. I was concerned that the planked look would lean "farmhouse" but that's not an issue at all. They look clean and simple and we're really happy with them! So here's how we did it!
Between my kids wrapping up school (this last week of remote learning has been as tough as the first!), traveling (we're at the beach!), and general busy-ness, I can't say I have much progress to share with the One Room Challenge. But I didn't want to totally ignore the fact that I owe you an update on our kid-friendly office nook, so here it is! Keep reading to see where we landed on the shelves, the brackets we're considering, and my secret weapon for shelf styling.